Make a perfect colored complexion
For each character with an unusual skin colour. This technique works for any color
Do not use if you have a very sensitive skin that already barely supports the usual makeup
What you need
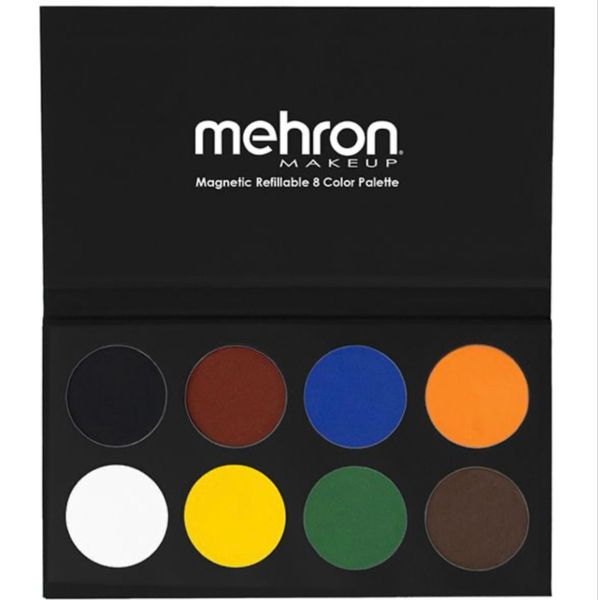
- *Waterfall
- *Water
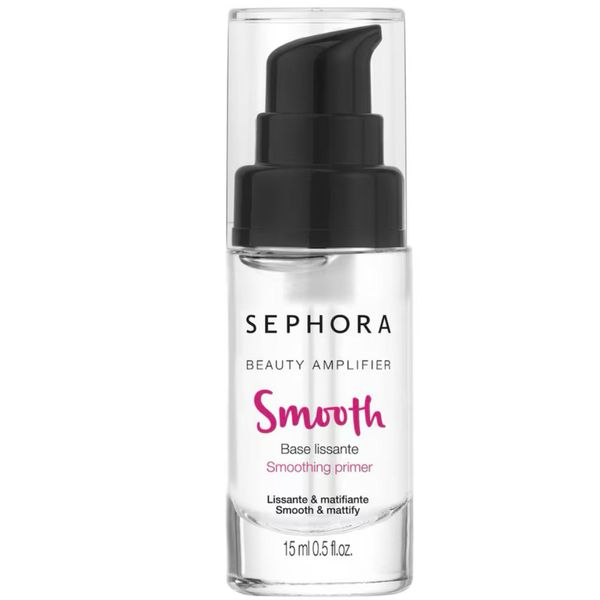
- Smoothing base
- *Light coloured eye shadow1
- *Dark coloured eye shadow1
- *Translucent or coloured free powder
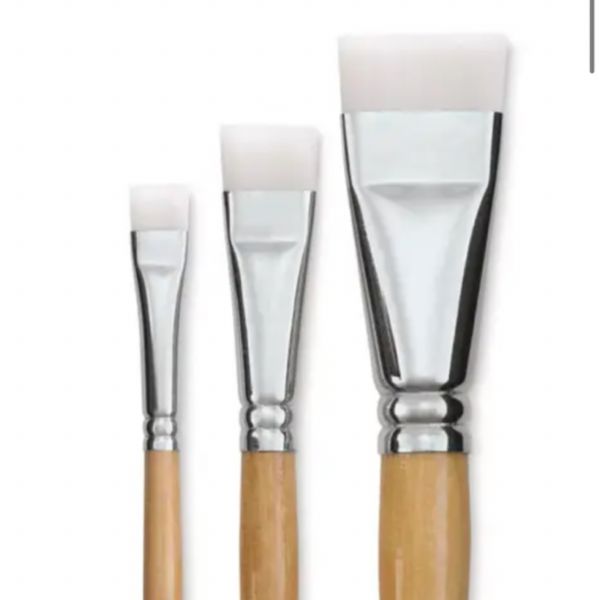
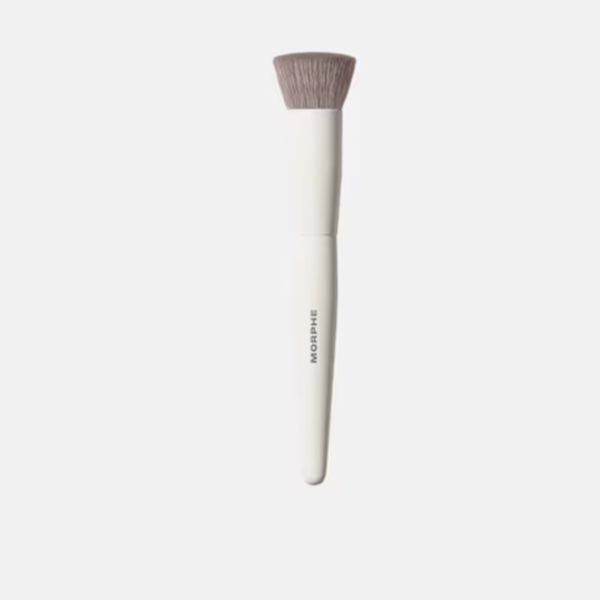
- Large copatch brush
- Skin with shallow foundation
Steps
Apply Base
Apply a basic hazelnut to your finger and spread thinly over your entire face. This will have a "filter" effect on your skin and make-up will hang better despite sweat or whatever happens in convention. .Water makeup preparation
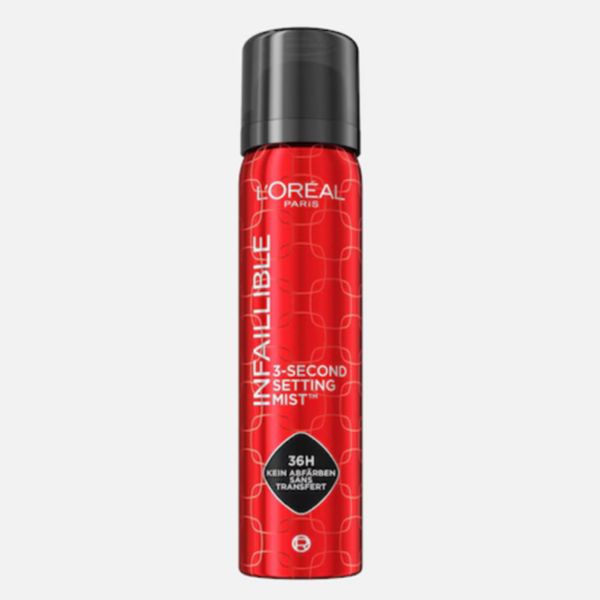
Apply a little water to a brush. Then, using the wet brush, mix the makeup until you get a fairly thick texture but still quite liquid. When applying it, it must be close to the foundation texture and must not flow You can mix with water a little spray fixer if you want to have a makeup not movingApply the shadow
Use the blunder prepared in the previous step. It should be applied in a single direction (as when coloring with wooden pencils). Then to remove the marking stains, when the makeup is semi-dry, use a thick, sparse brush and tap the smoothing area. You must do this process by zone.Contouring
With the dark eye shadow, create your usual contouring. Don't hesitate to label it a little more than for a daily makeup because the color can make it less visible. With the light eye shadow, place your light zones (nose, cheek, chin) If you wish, you can place blush You can eventually add your highlighterFixing the complexion
Do not apply a cream product to your complexion before fixing. As makeup works with water, it will reactivate it and create stains. When your complexion is perfectly dry, use your free powder and put it all over your face and remove the excess with a powder brush. With a compact powder, reapply the powder in the main places «: - nose side - under the eyes -under the place where you will put your contour on the jawDetails
Add your details as you like! And finally fix with a layer of fixerSummary
Here's a pretty quick video of the main steps