Make wicks and spikes
Do you want to make precise wicks and spikes? But you don't really know how and with what equipment? I'm here to help you!
What you need
- *A wig1
- *Syoss/Got2be lacquer1
- *Scissors1
- *A comb1
- *Hairdryer1
- *A waffle iron1
- *A smoothing iron1
- *Glue 100%Repair gel1
Steps
Step 1 Prepare wig
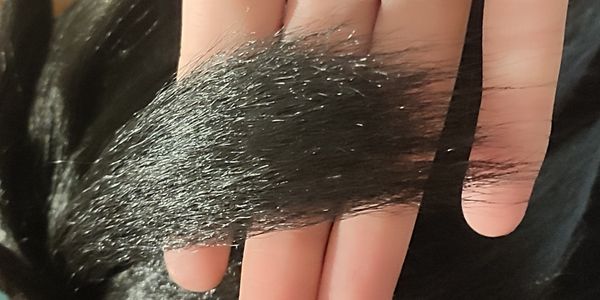
Before you start to wick, you have to prepare your wig properly. To do this, you will first unravel it, and smooth if it is not already, to have a good base. Then I advise you to emboss your wig, to give more volume and make it easier to make the wicks. You can also use the creping with a comb, but it can be longer and complicated to untangleStep 2 Choice
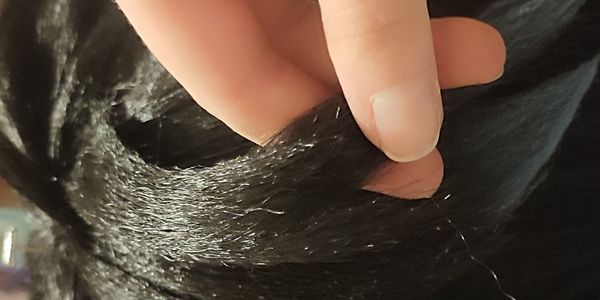
Now it's time to choose the wick and location. Be careful not to take a wick too thick, or a wick too thin. Too thick can be more complicated to manipulate and shape as you want, especially when you're not used to it. But also to make hold. A wick too thin may not give a nice rendering, but also can break more easilyStep 3 Cut
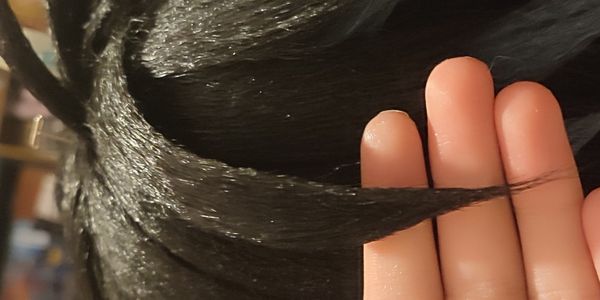
Now we'll have to cut the wick! Before taking the scissor and cutting, you have to think about what length you want. Once the choice is made, you will take your wick and hold it by the tip. To cut, you will not cut straight to the horizontal, but you will, while cutting the wick, make a movement from top to bottom all along. This makes it possible not to have a stiff wick, but hair of different sizes and thus give a better rendering to the tips. Especially do not hesitate to cut a little longer than basic, to avoid cutting too short. And if you need to shorten, tape the wick by cutting the tips vertically. And brush her because she'll be tangledStep 4 Implementation
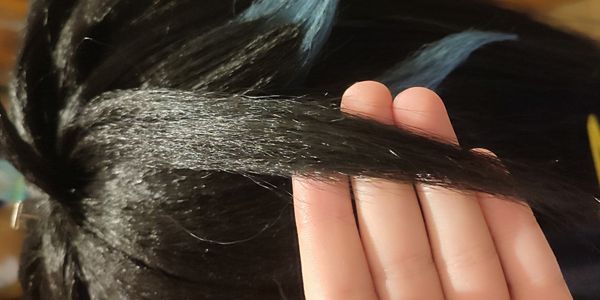
To achieve the wick or spike, nothing very complicated, just give the desired shape with your fingers. Then you wash the wick with either the ultra-green Syoss or the Got2be, then you pass a hair dryer behind. To dry the lacquer and thus hold the wick. You can also put lacquer on the wick, then shape it with your fingers, and then hair dryer. Another possible help is to heat with an iron to smooth the wick before putting the lacquer. As the wick will be hot, it will be easier for you to give it a shapeStep 5 Finishes
The wick made and dry, you now have to finish. With a scissors, you can cut off all the small wicks that exceed and have not hung with the lacquer. But also with glue, the Pattex 100% Repair Gel, the UHU 3 in 1 green or black, or any other transparent glue that leaves no residue and trace, put it on the tip of the wick. So it will prevent the wicks at the tip from taking off and at the end the wick or spike is destroyed