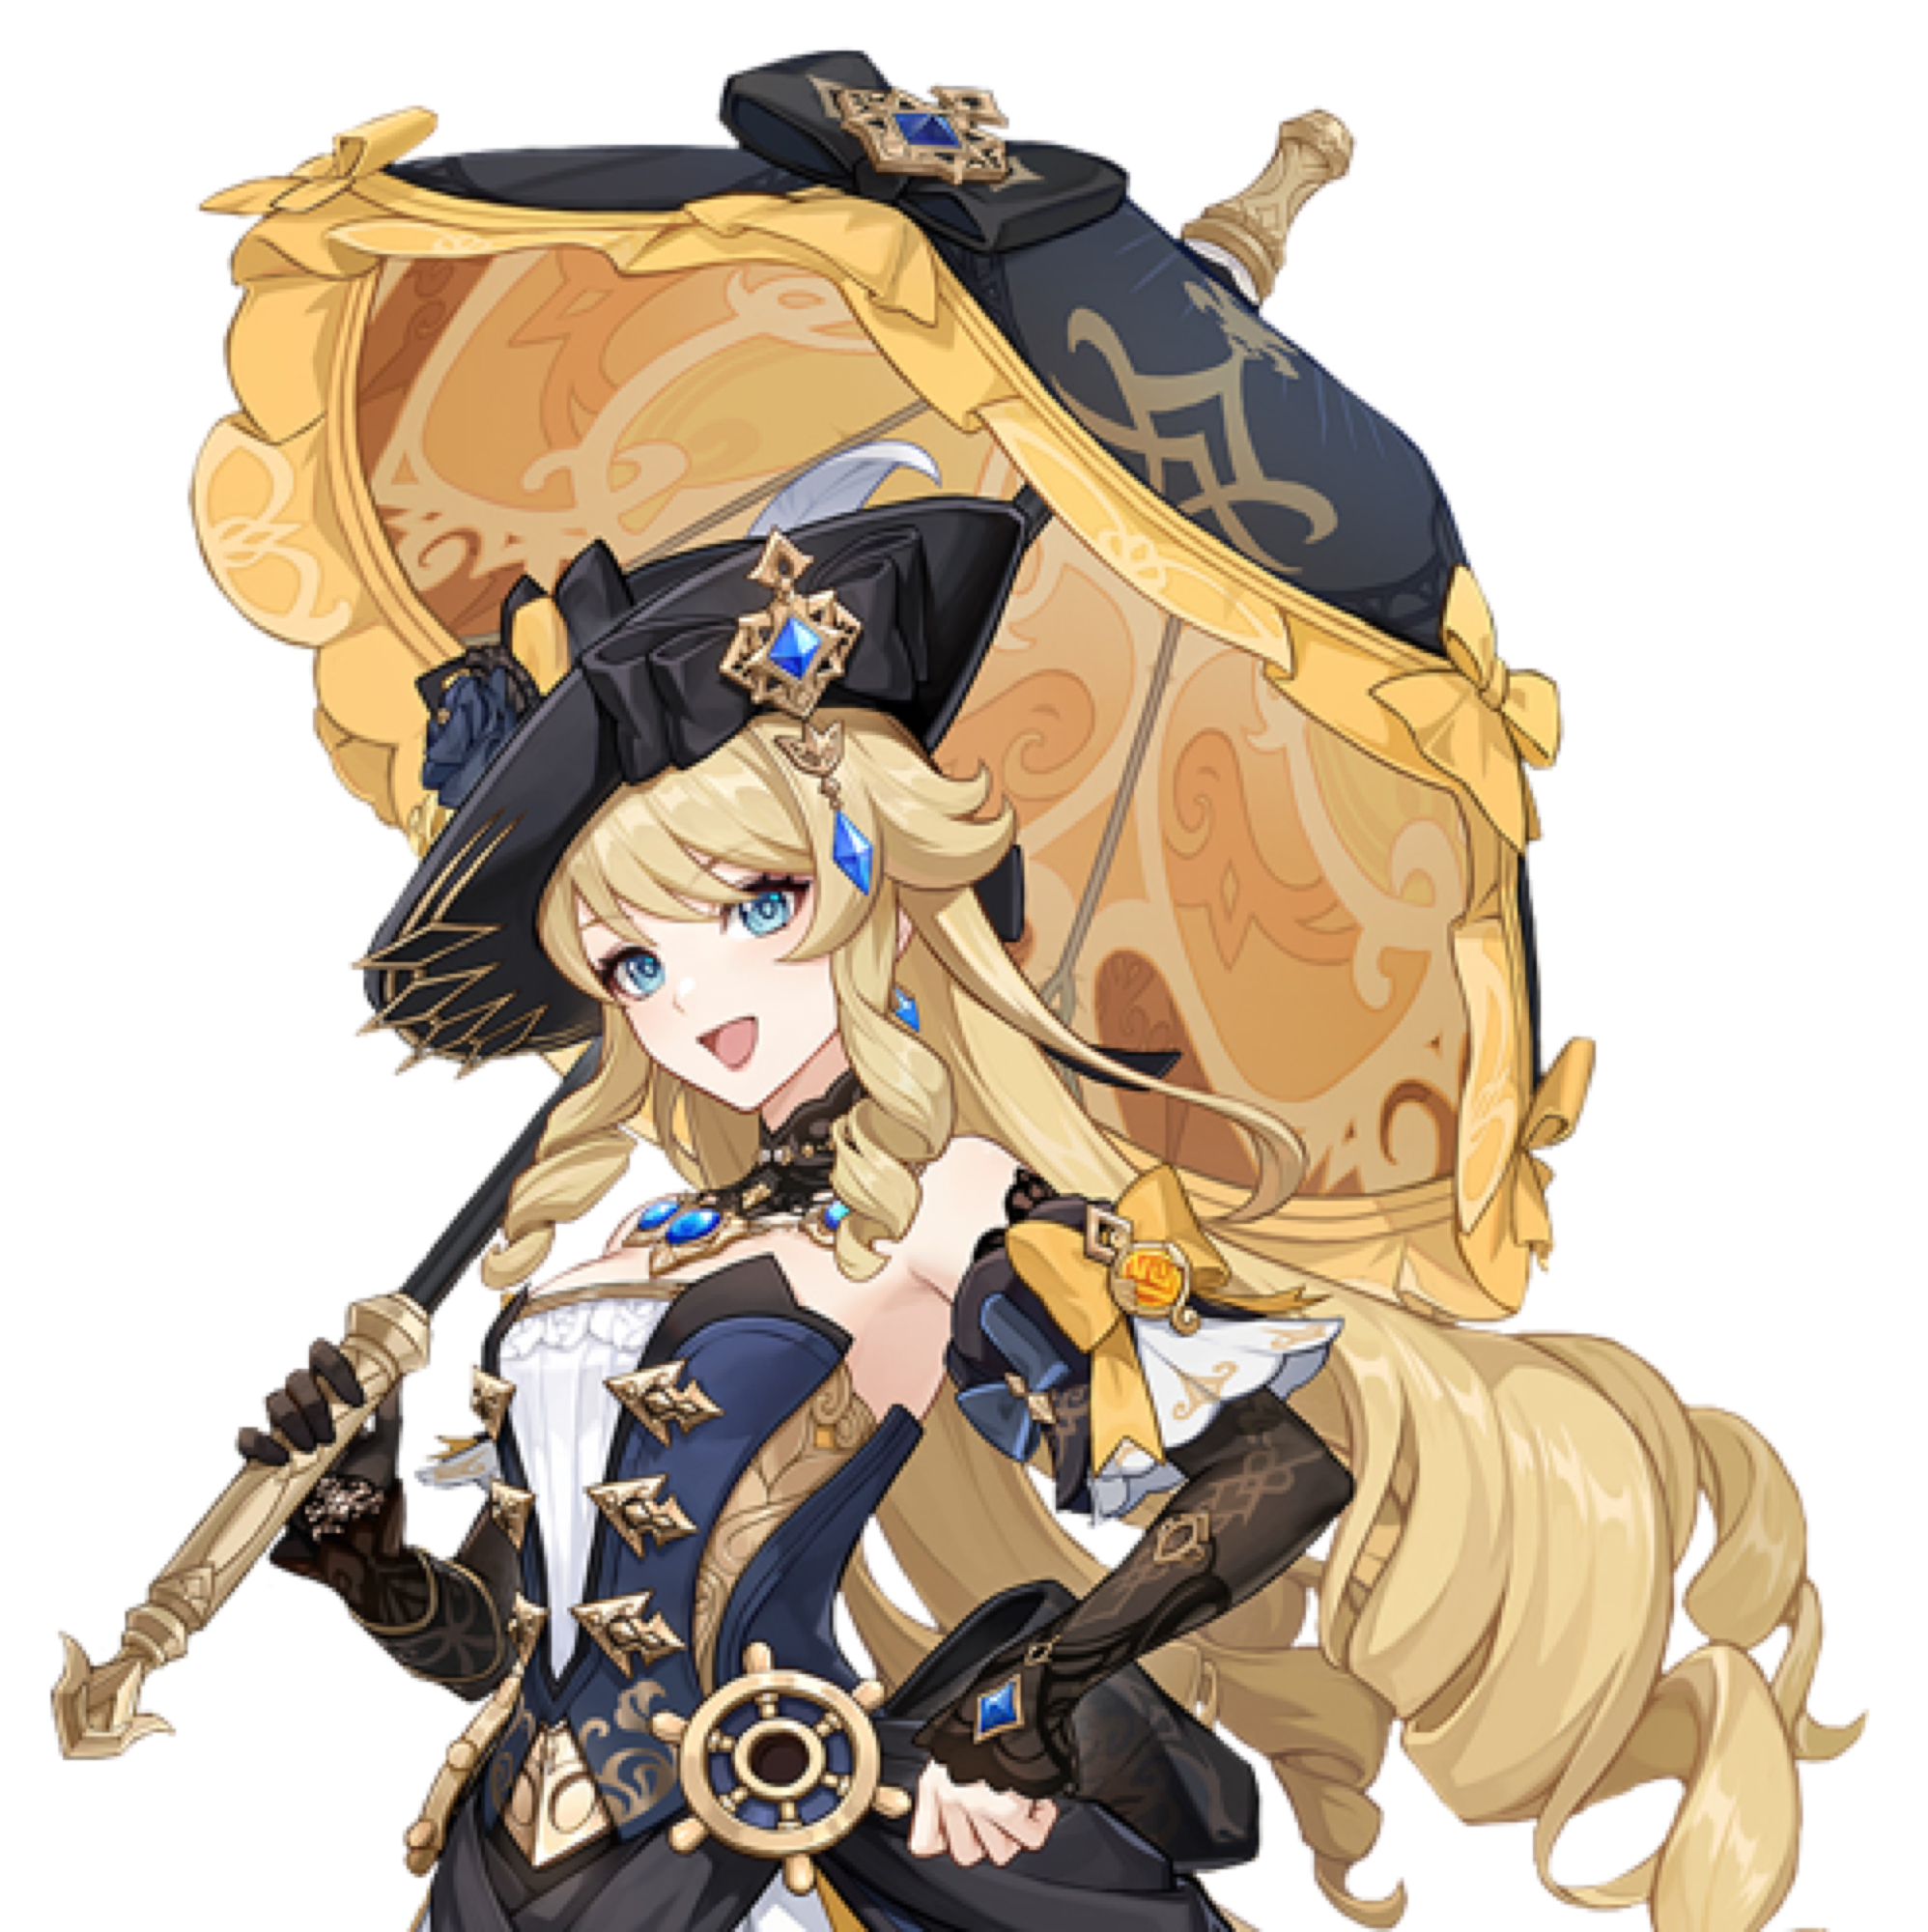
Navia dress
Dress only for the rest of the outfit is Reccup and DIY to you to be creative!!!
What you need
- *Fabric (depending on your tastes I used a lot of cotton for my part)
Steps
Skirt
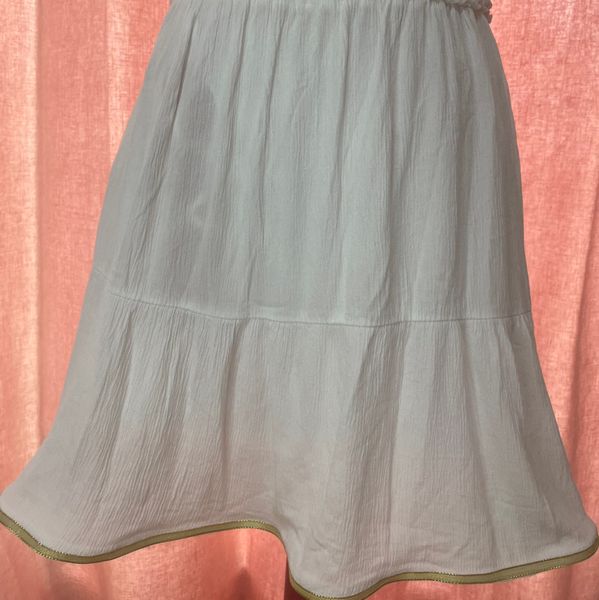
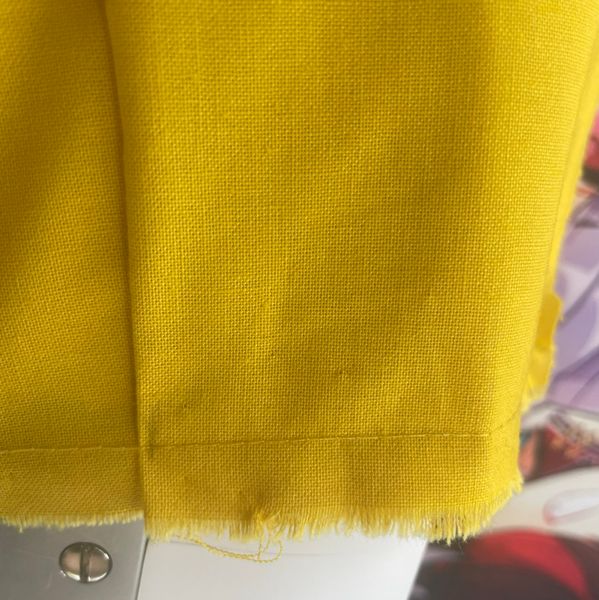
Skirt • Use the bottom of a recycled dress • Add a golden ribbon on the bottom of the skirt Tip: If you do only one bite in the middle of the ribbon, it may fold on itself, which will not be aesthetic. Alternative (handmade skirt) For those who want to make their skirt entirely by hand, I recommend the technique of the "umbrella" skirt: • Fold the fabric in four • Cut a circle arc suitable for your measurements Tips for finishing: Don't forget to make the hems and add an elastic for beautiful finishes. Also think about ironing your fabric between each step to get a clean and clean rendering.Sledge ( boss )
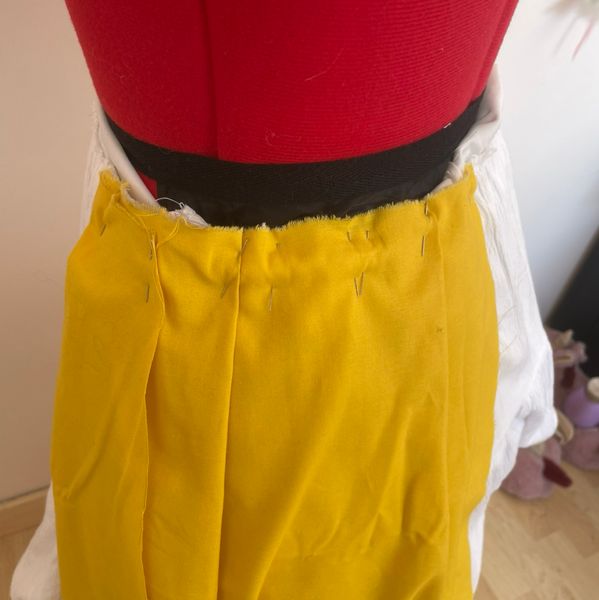
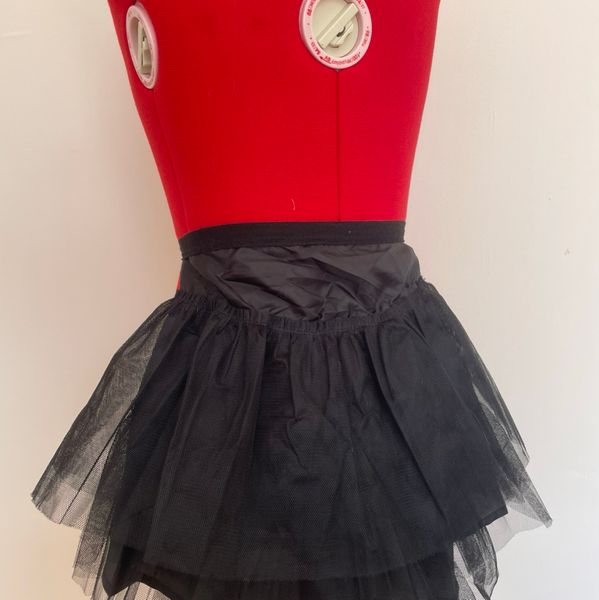
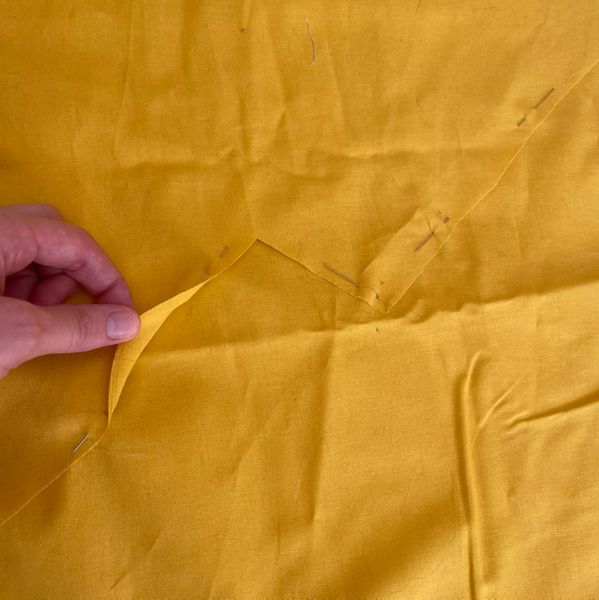
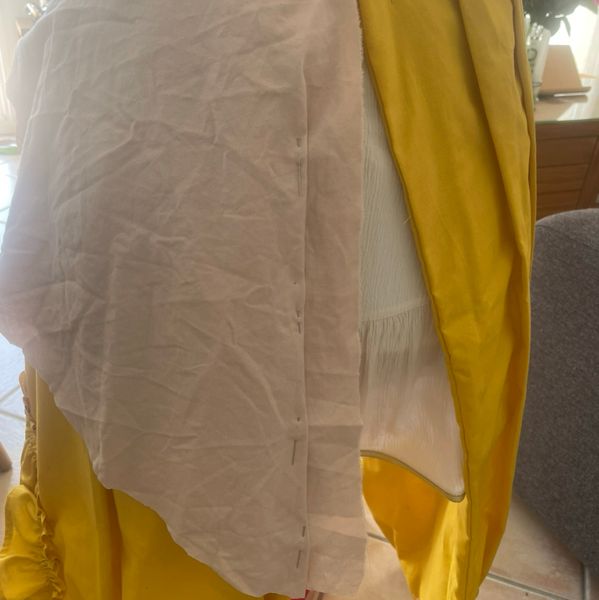
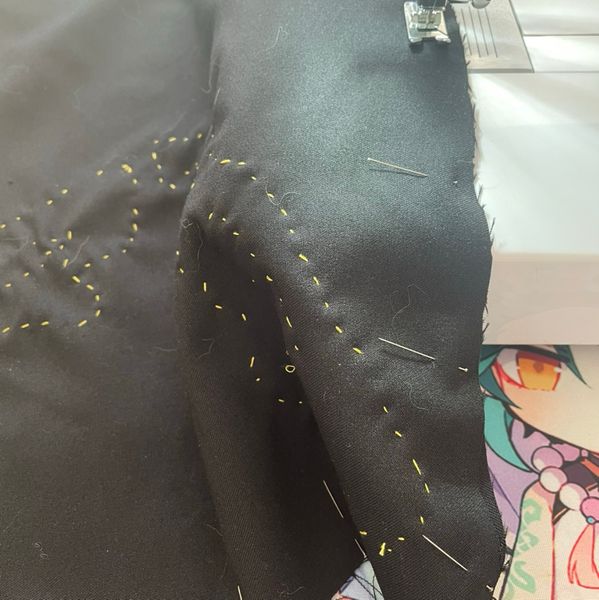
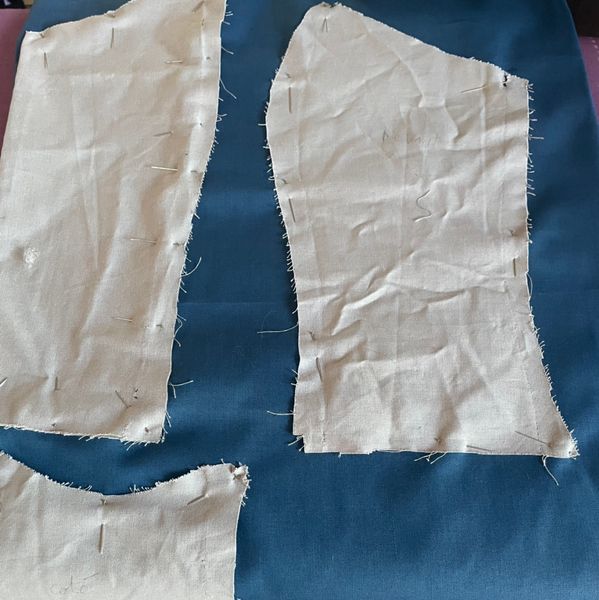
To achieve the drag, I directly molded the fabric on mannequin to obtain the desired shape and folds. This technique allows to have a very precise rendering and adapted to the final fall of the costume. A skirt is then added below to bring volume and support the structure of the trail. Advice: • It is recommended to perform this step first on a pattern canvas before cutting into your main fabric (what I didn't do here ). • I was able to afford it because I used cotton, a material easy to work and adjust. • Remember to iron your fabric well before cutting for a clean and accurate result. • Cut the sling strips before cutting the shape of the sling: this makes it possible to obtain sharp strips with a minimum of fittings. • Make markers on the fabric so that the folds can be repositioned correctly during assembly.Sledge (cut)
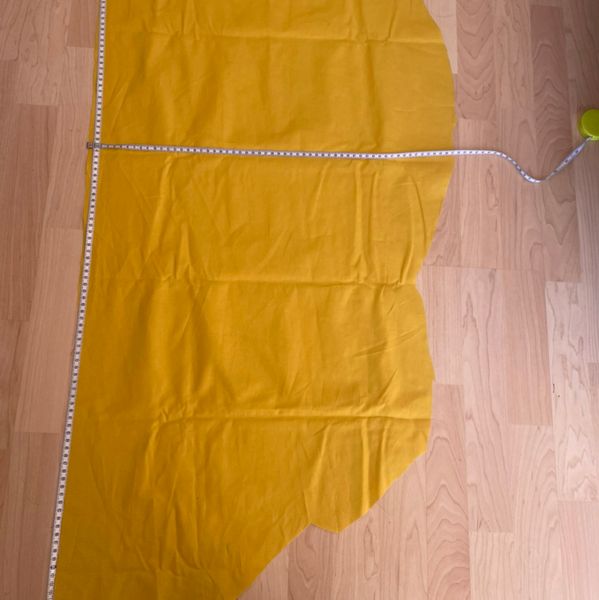
1. Unfold the fabric Spread your fabric flat, without folds or tension to avoid offsets. 2. Cut in double (x2) Cut the fabric in double thickness in order to obtain two perfectly symmetrical pieces (mirror effect). Tip: Make sure to check the sense of the line before cutting. 3. Marking of folds Then go to the press / iron to mark the folds. • Use steam if possible • Presses without moving to avoid distorting the fabric • Let cool to fix the foldFrozen
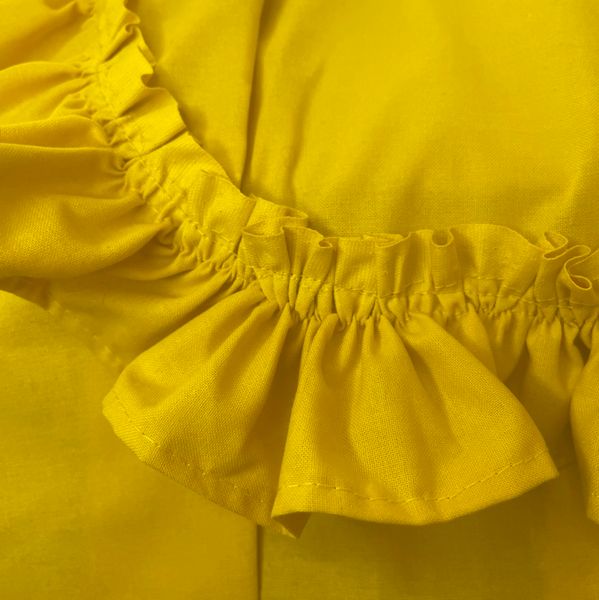
• Perform two parallel bites on the area to be frowned • Pull the threads gently to slide the fabric and create the slings - Finishes: • Make a fine hem for a clean finish • Or use a bumblebee point if you have a suitable machine (driller)Maintenance of folds
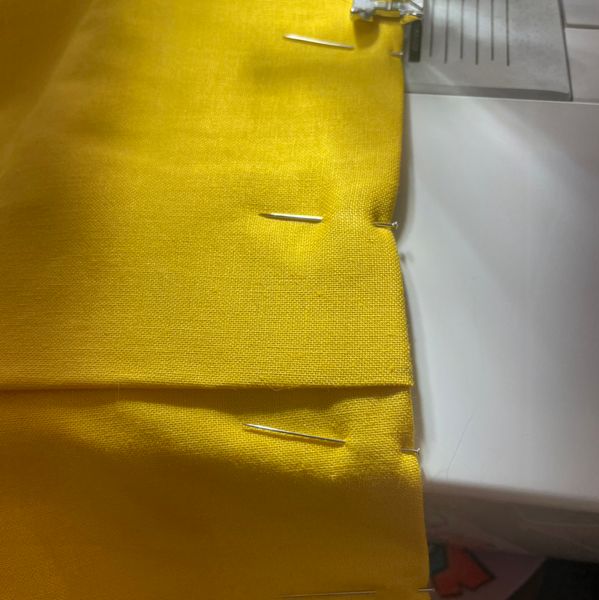
• Stitch the folds at the top, 1 cm from the edge, to keep them in place Tip: Pin or build your folds before stinging to ensure a regular result and prevent them from moving during sewing.Assembly of fronces
• Pin the frounces on the trail symmetrically • Once the placement is validated, sting to the machine to fix them Tip: Take the time to distribute the slings well before sewing in order to achieve a balanced and harmonious look.Lining and sliding
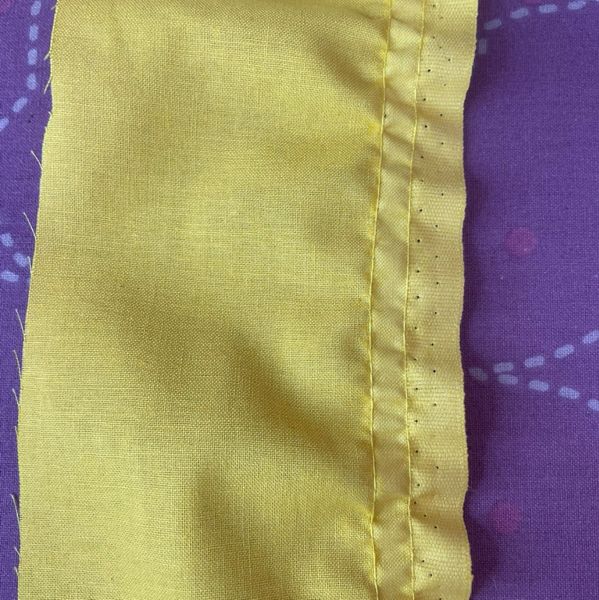
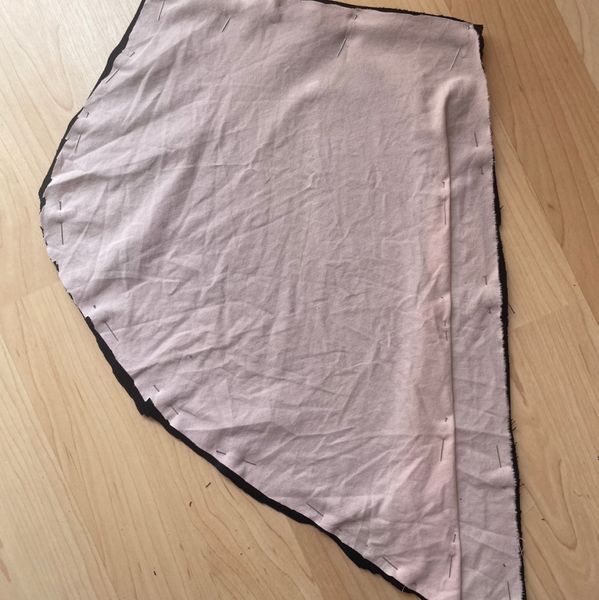
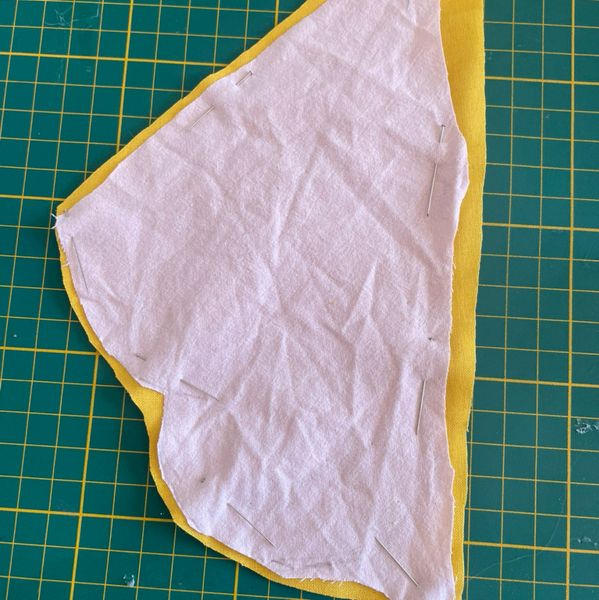
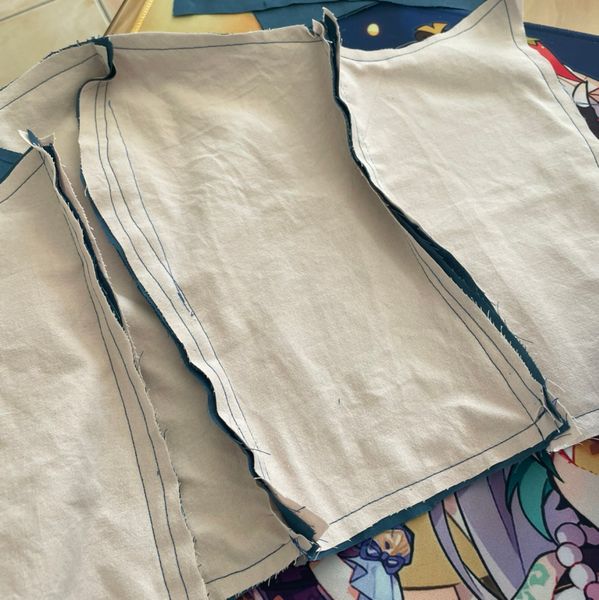
• Cut the lining in the shape of the drag • Pin the fabric and lining place against place to prepare the sliding • Stitch leaving an opening, then flip the set to get a clean finish Tip: Slightly crease the curves before turning for a clearer and tensionless rendering.Finishing of lining
• Fold the edges of the opening onto themselves • Pin to hold in place • Cross to mark the folds • Ribbed to close properlySecond thickness of fabric
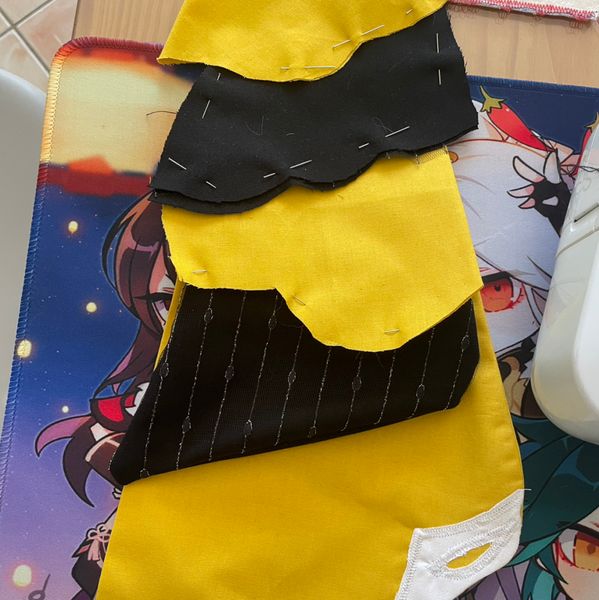
For the second thickness of the trail, reproduce the same steps: • design of the model • fabric cutting • ironing • sliding Attention: If you use a fabric different from the main fabric for the lining, be sure to cut a right and left piece, not twice the same piece. Otherwise, you may end up with a part of the lining upside down. Council: Remember to mark your parts from the cutting (-) to avoid confusion when assembling.Black cheese
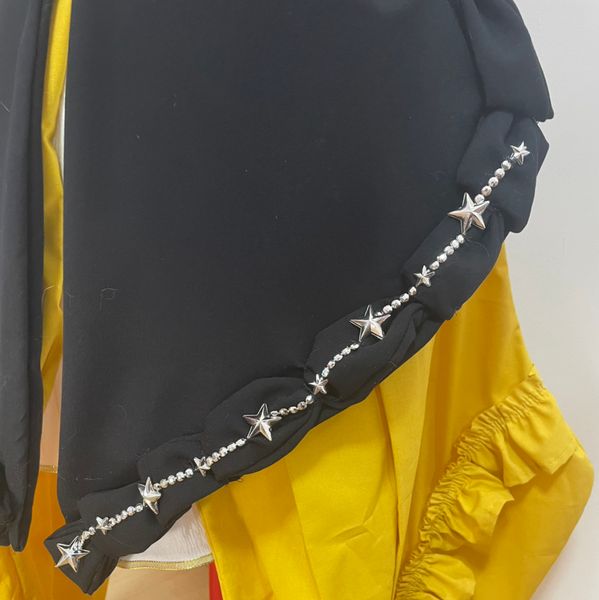
For fronces: • Cut two strips of fabric • Make a sliding for finishing • Create the slings by hand • Add the beads (also hand)Node drag
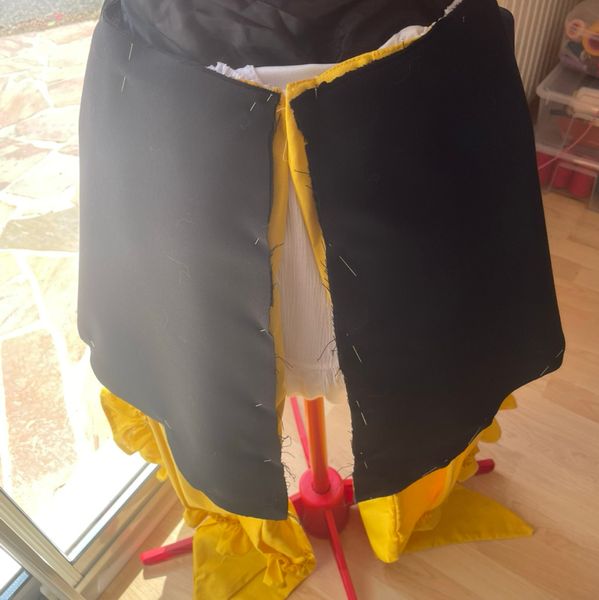
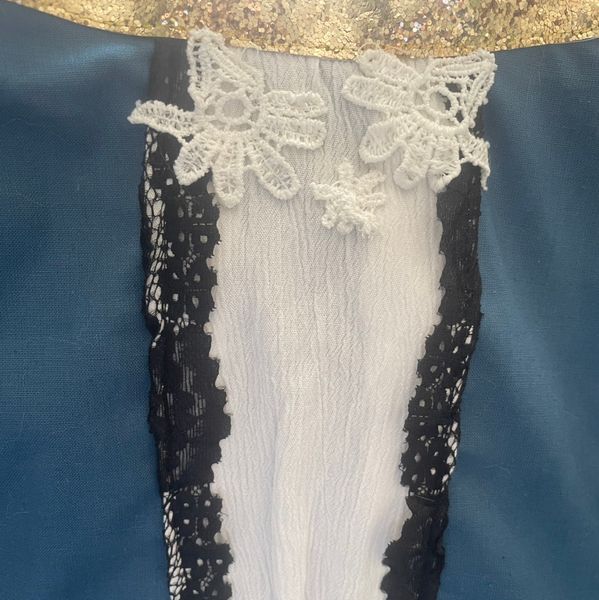
• Make the pattern directly on model • Do not hesitate to pin regularly and try the cosplay to check the shape and placement Adding Materials Then plate the different decorative elements according to the chosen materials: • tulle • lace • transfers • etc. Finish Once the assembly is assembled and the rendering validated, perform a sliding to obtain a clean finish and facilitate the final assembly. Council: Take the time to position each material well before the final seam: the overlays play a great deal on the final rendering of the trail.Node
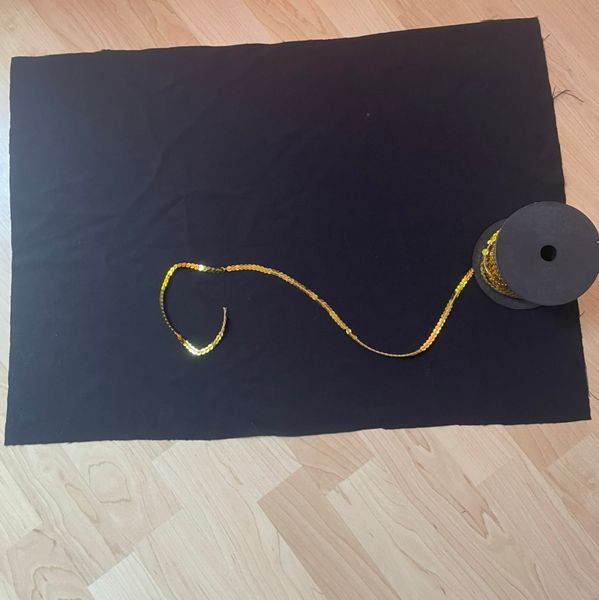
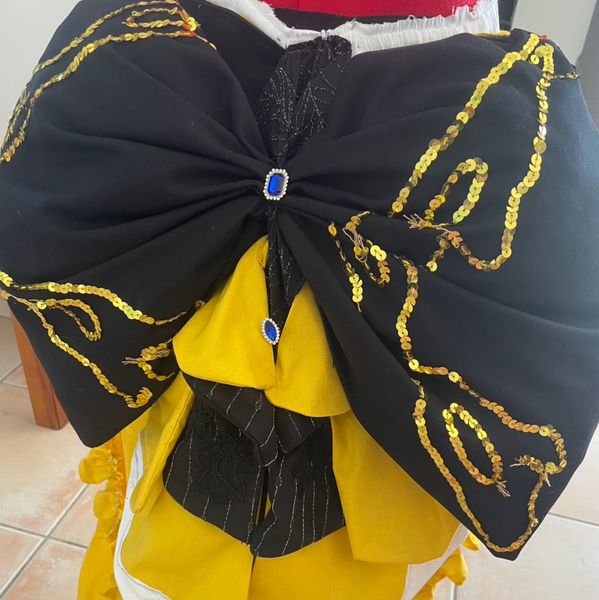
* Cut two rectangles of fabric to the desired dimensions * Realize the pattern by posing the sequins Alternative: You can also use other techniques according to your preferences and material: textile transfer, embroidery, fabric painting, etc. * Make a sliding to assemble the knot and get a clean finish * Lightly pad the knot so that it retains a good shape and a good hold * Attach the knot to the back of the suitBustier
* Cut the different pieces of the bustier according to the pattern * Fold (triple) the bustier to bring it more maintenance and a cleaner finish * Set the whales to structure the bustier and give it its final shape Tip: Before dragging the whales behind the scenes, place a small piece of tape or fabric at each end. This will prevent whales from piercing the tissue over time. .Customizing the bustier
Finally, customize the bustier using decorative elements of your choice: * ribbons * Lace * guipure * craft elements (EVA foam, Worbla, etc.) * pearls, rhinestones, sequins... * or any other material suitable for your project The goal is to recreate the costume details while using the techniques and materials that best suit you. Council: Before permanently fixing the decorations, take the time to arrange and pin them on the bustier. This will allow you to adjust the composition and check the visual balance of the set.