Sew a seamstress apron
A sewing apron is convenient when you start sewing and don't want to lose your equipment or scatter around. The tutorial is suitable for everyone, starting or not
Be careful with pins, an incident happened quickly, don't forget to put them back in their boxes or planted them in a support. And the same for scissors, away from the edges and always the closed blades.
What you need
- *Cotton fabric (clothing or furnishing)140
- Pins
- Matched yarn
- *Cutter chalk/stylos eraseable fabric
- *Rule
- *Iron
- *Sewing scissor
- Starting to sew
Steps
Trace Base
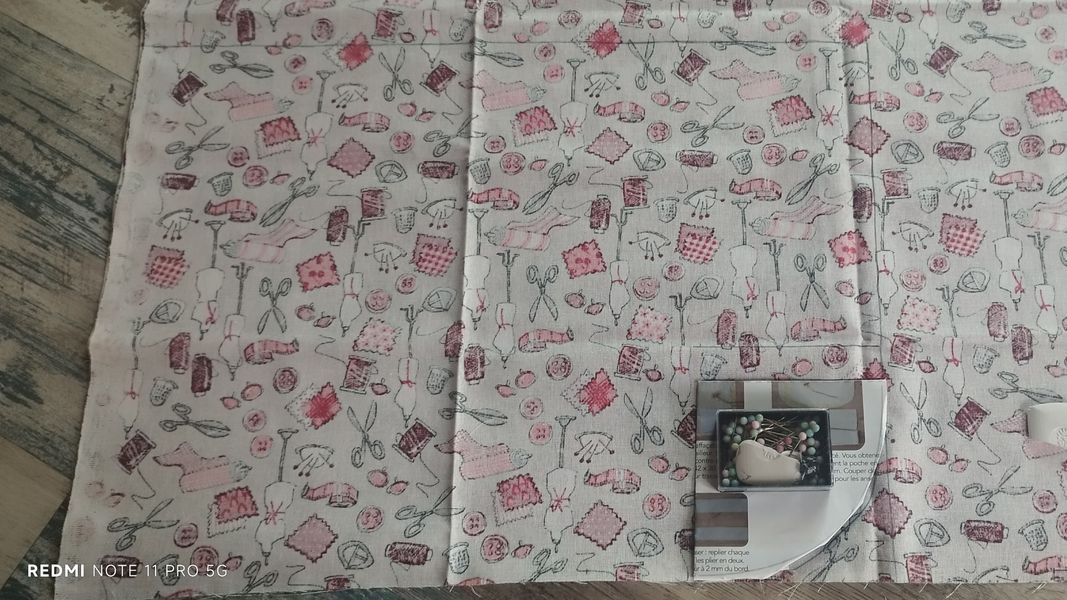
Fold your fabric in half, place against place, bring your chalk/stylos and draw a 42 x 30 cm rectangle, as well as round it on both sides.Track/cut base, pocket 1
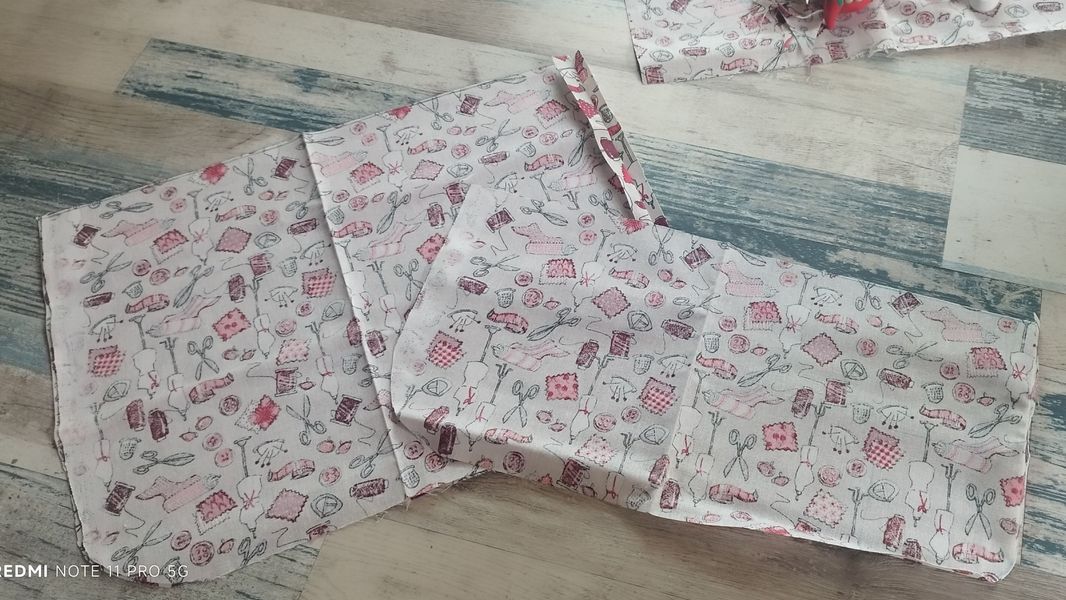
Cut along the track and pin your two pieces always places against places. Trace and cut the first pocket by removing 10 cm at the height (20 x 42 cm).The coves
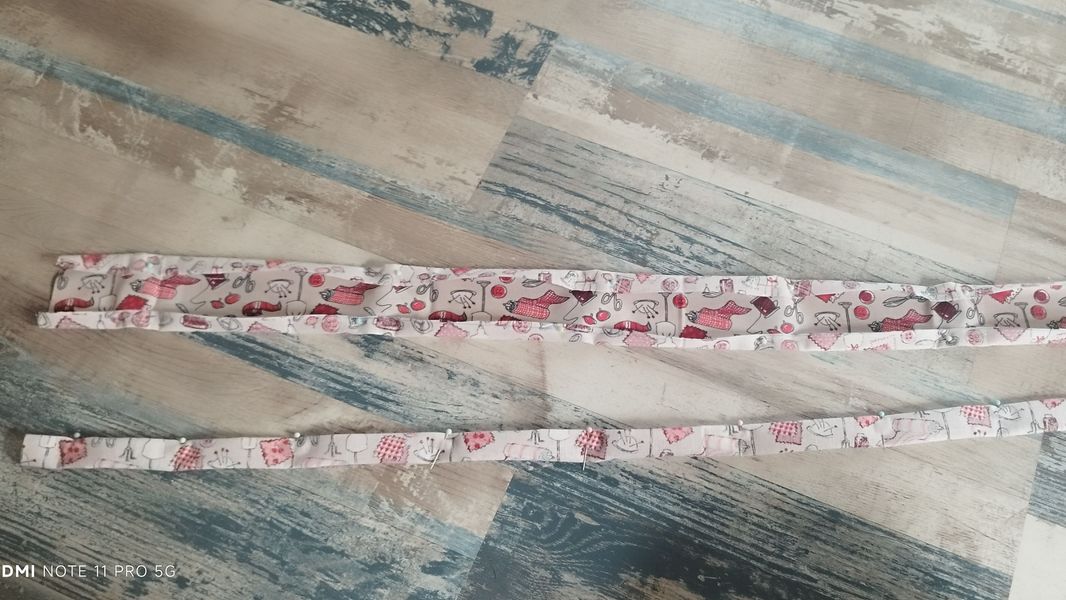
Trace and cut two 8cm x 1m rectangles. Fold each side 1cm on the reverse side, pass the iron over your folds and fold in half, sew it all 2mm from the edge. *In the photos, I made the folds without using the iron and I realized at the end of the first seam that I was on the spot and not on the reverse side of the seam*Main pocket hems (part1)
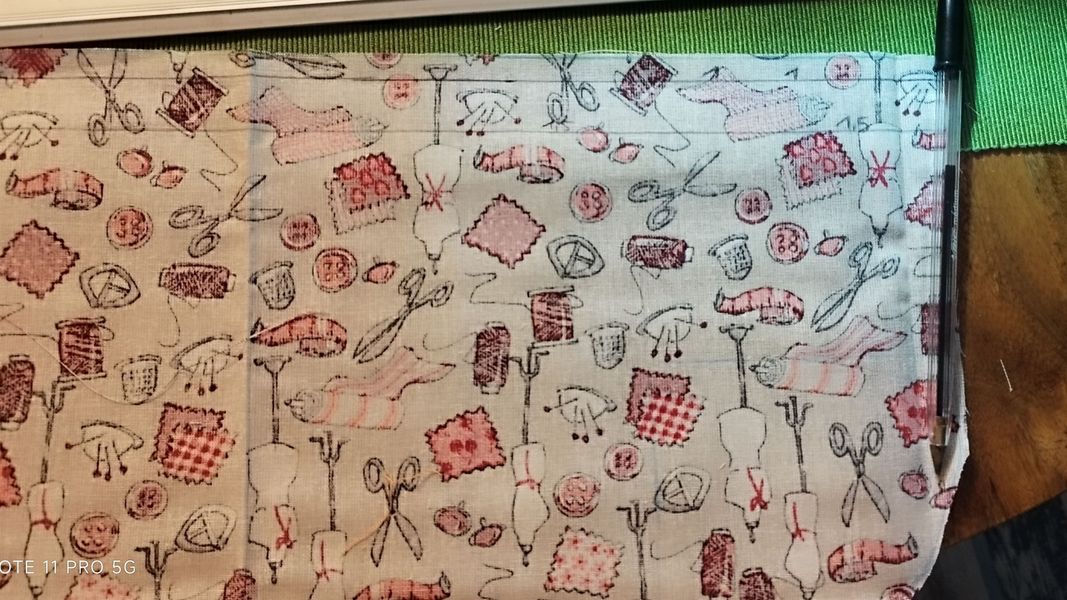
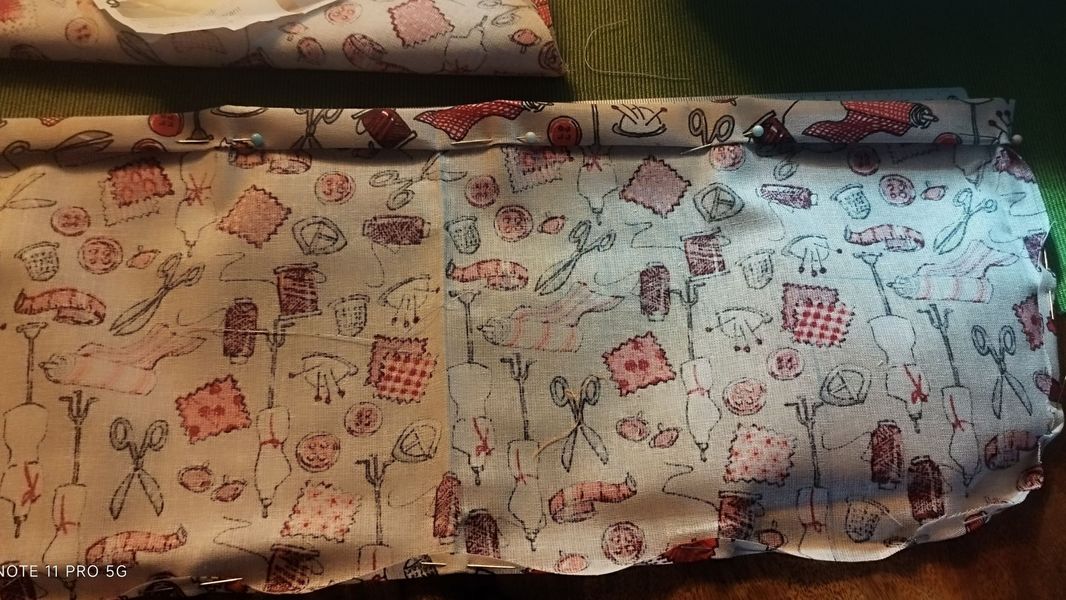
On the height of pocket 1, draw a hem on the place: a first line 1 cm from the top edge, then 1.5 cm from the first line.Main pocket hems (part.2)
Turn your pocket, on the reverse fold the fabric on the first line, put an iron stroke to mark it and fold on the second line and sew at 2mm, on the second fold. *I also made a little hem all along*Adding pockets
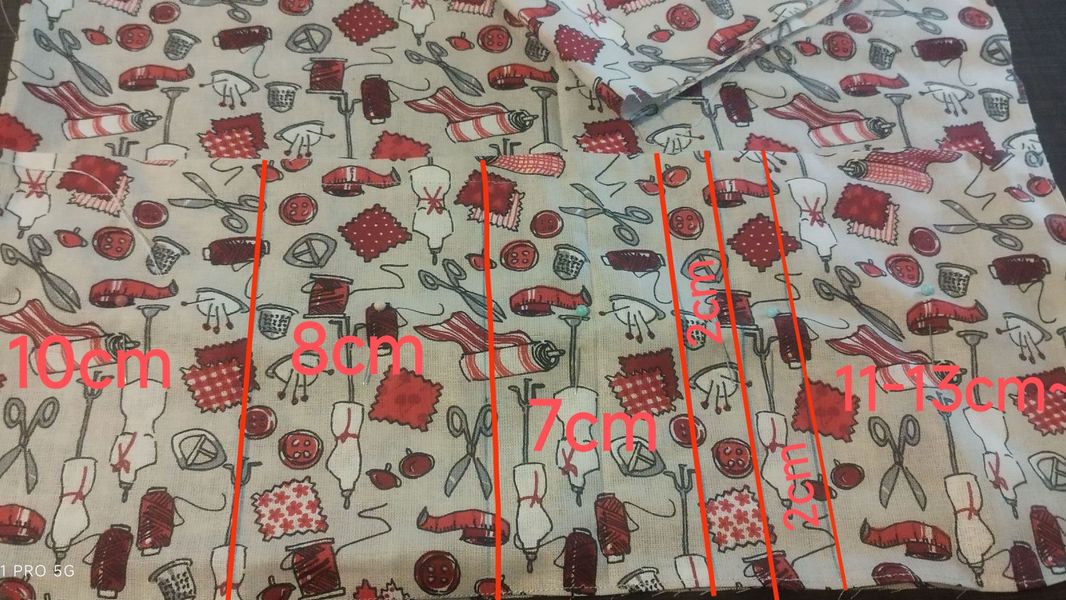
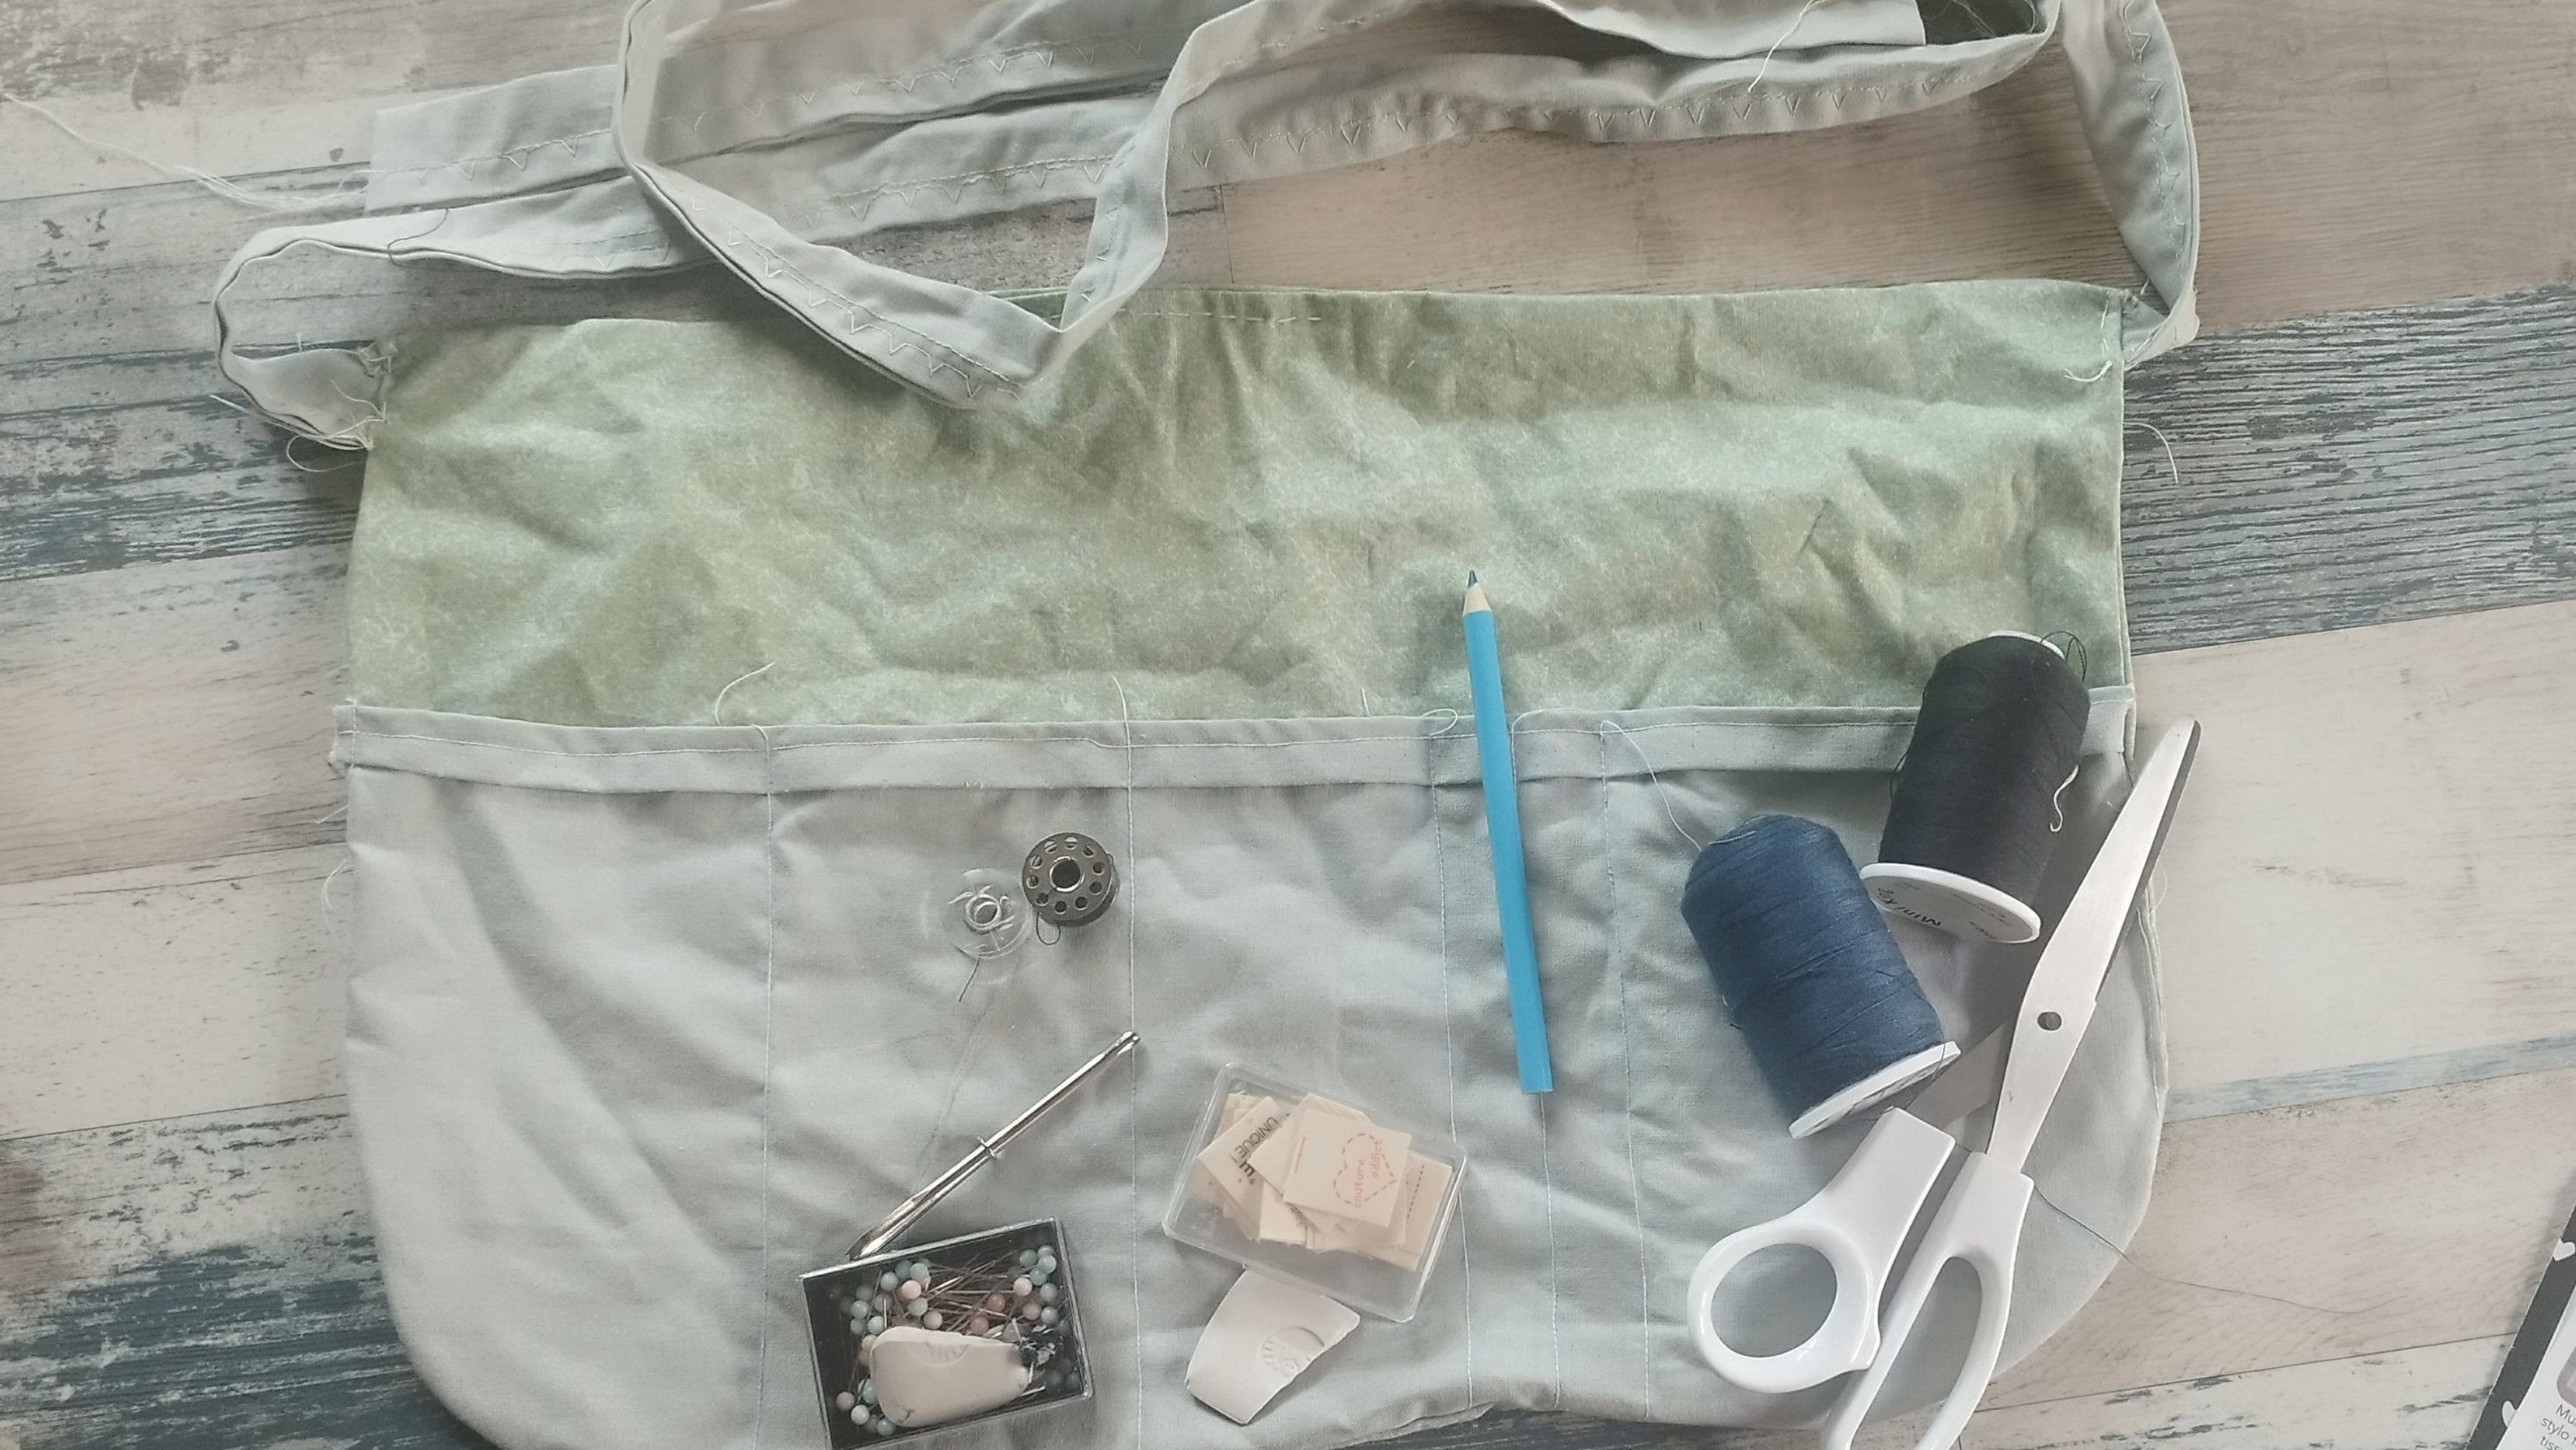
*In order to be able to store your small material without mixing brushes, we will add more pockets to the basic one.* Overlay pocket 1 on the back of our fabric, pin these and draw the different pockets (left to right): 10cm; 8cm; 7cm; 2cm; 2cm and 13cm. Do not hesitate to pin the center of each pocket and sew along the tracks, consolidate the top of each pocket with round trips to the stop point.Cove placement
On the back of our fabric on which we sewn our pockets, we will pin our handles on both sides leaving a height of 1cm for the seam margin between the top of the fabric and the handle.Edge seam
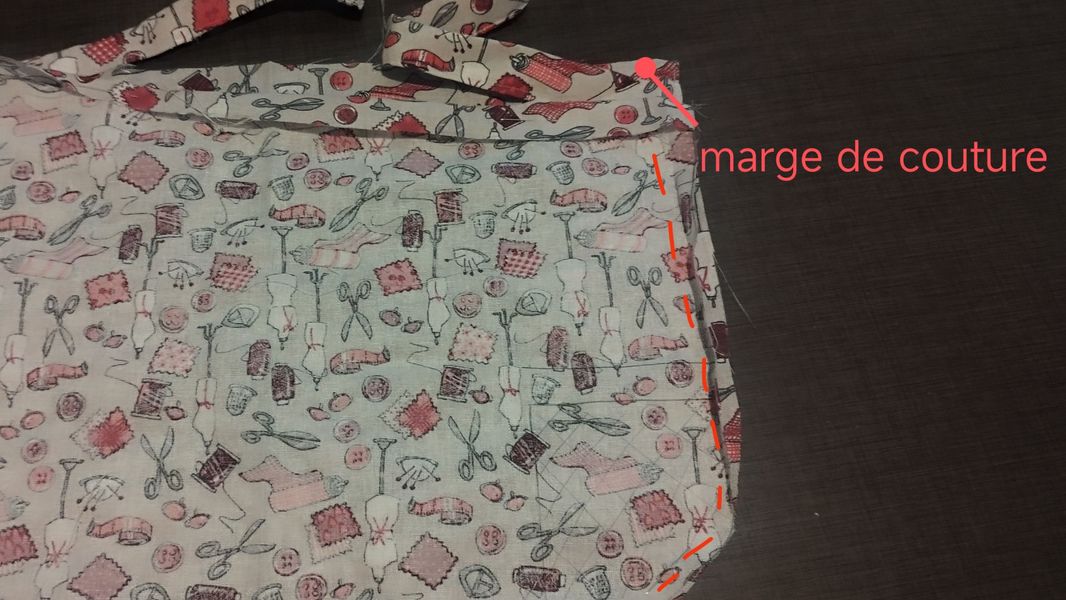
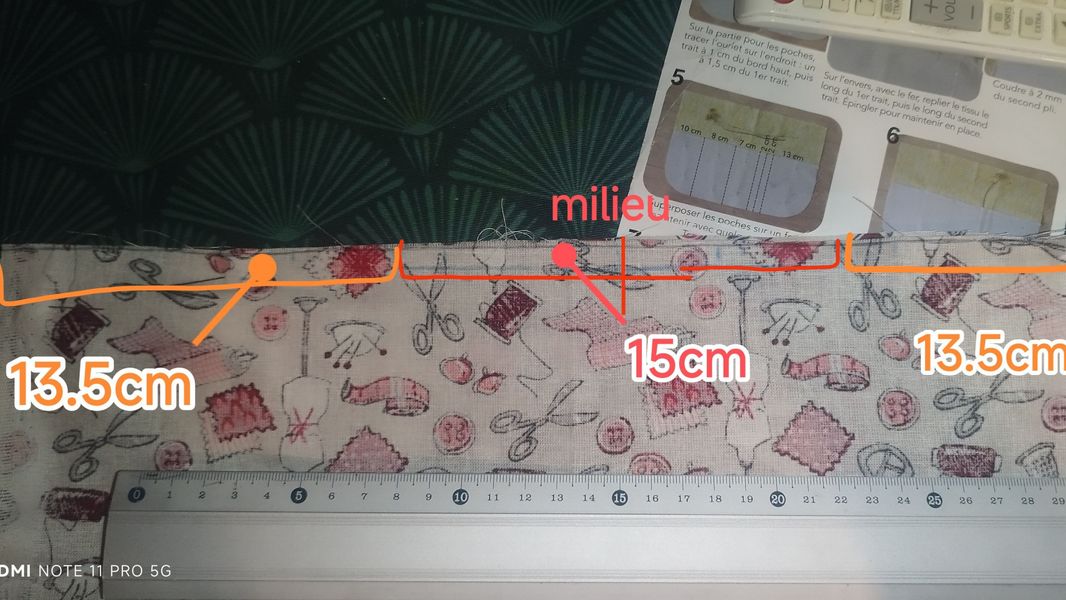
Place the bottom on the part with pockets and handles. You must leave a 15cm opening on the top of our apron, to spot the middle of our fabric, fold it in the width and mark the center with chalk or pin. Measure from the left edge 13.5cm, mark it with a chalk or pin, then a new 15cm measure, mark it and do the same for the third measure of 13.5cm. Once the measurements are marked, start sewing all your turn at 1cm from the edge, leaving the 15cm opening open.Closing and finishing (1)
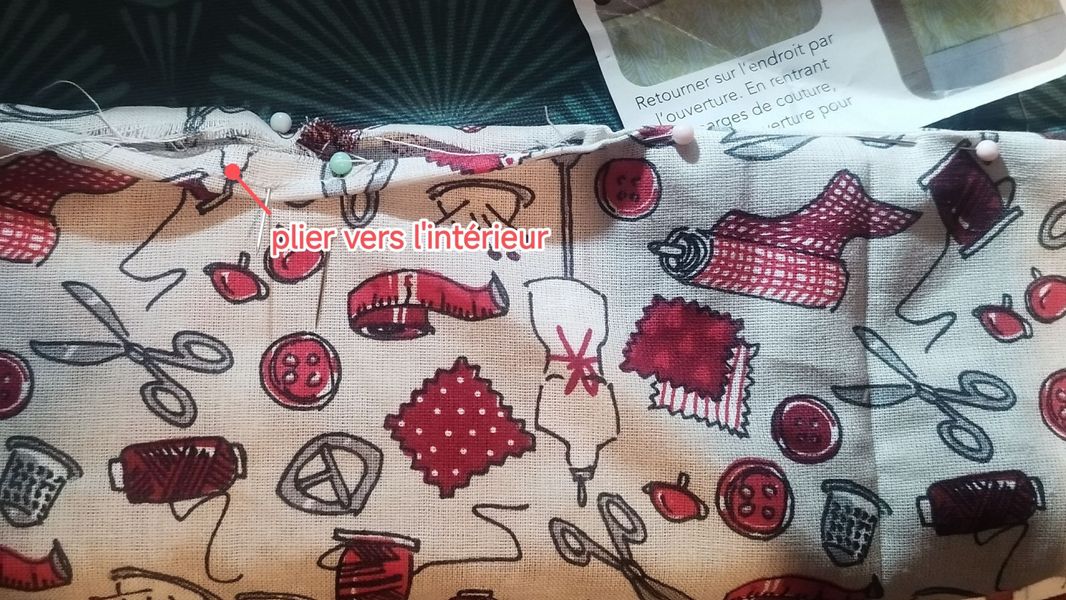
Go back to the place with the 15cm opening, fold the margins inwards, then pin the sets and sew them all the way around 2-3mm from the edge.Closing and finishing (2)
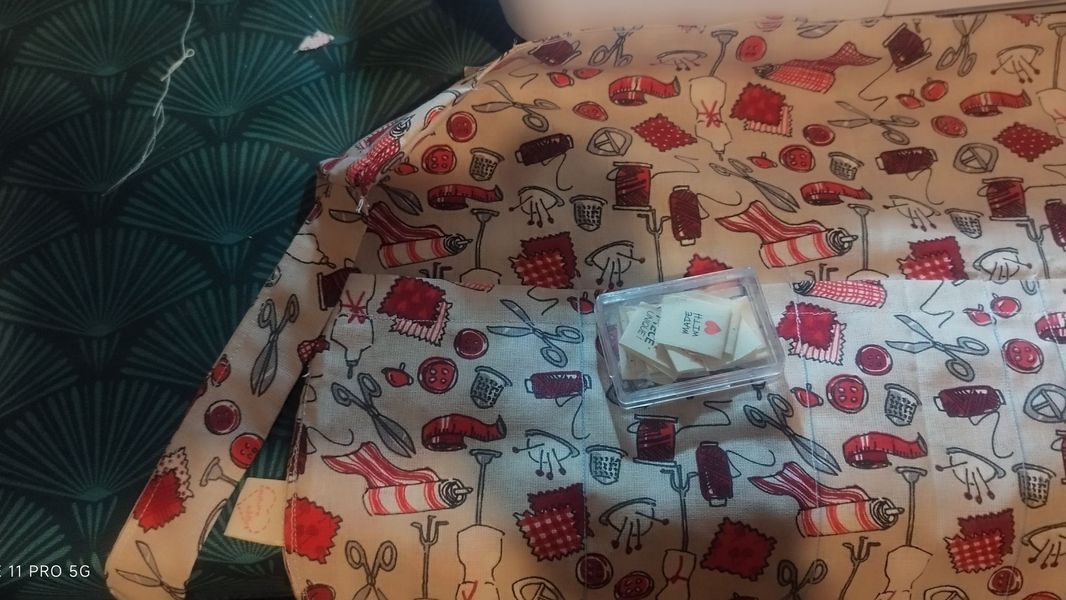
Don't forget to do the knots, cut the excess yarns that can exceed when sewing the 15cm opening and if you want, you can add a small label. * On my side, I added a label behind the 10 cm pocket, I had a small gap when sewing the left edges