Silicone moulding / Resin drawing
What you need
- *Plastiline1
- *Silicone RPRO 201
- *Polyurethane resin1
- *Nitrile gloves2
- *Eyeglasses Protection1
- *Mask A1P21
- *Plastic measuring glass2
- *Wooden spatulas2
Steps
Prologue
- It's about a mould in one part. It is also possible to make mussels in several parts (2 parts most often) -A single part mould will make a flat part on the resine drawing which is the part in the open air - it is possible to mould other objects than Plastiline - The polyurethane resin is VERY TOXIC. It is OBLIGATORY to PROTECT your eyes, skin (hands) and respiratory voices with a minimum A1P2 mask SHORT OUT OR IN A BELIEVE LOCATIONBase in Plastiline
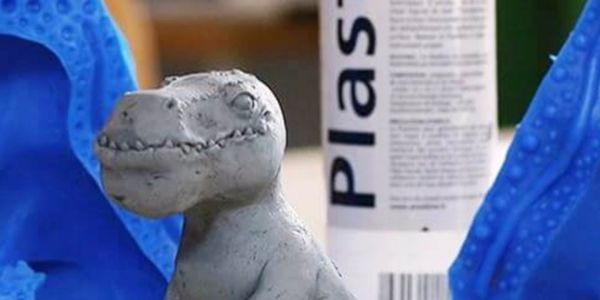
Before we make a mold, we need an object to mold. Plasticline (or monster clay) is a non-toxic, non-dry, modeling paste. She is perfect for sculpting her props before making a molding.Form a formwork
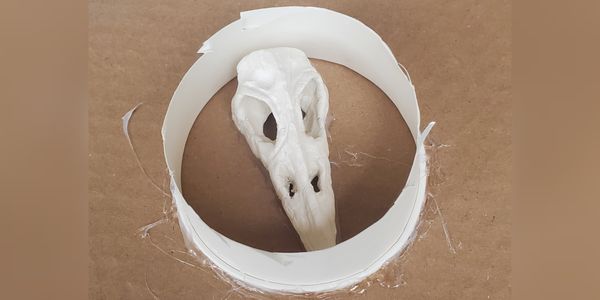
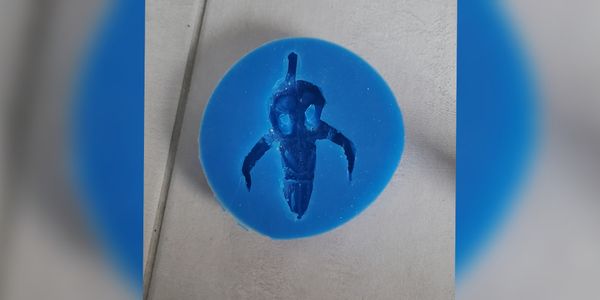
- Before preparing the mould a formwork must be made of the mould object. Here it's about a mould in one part. - The Rpro 20 silicone is a fairly liquid silicone, so it is important to work flat with a sealed formwork. - Cardboard can do the job, but it must be thick enough. For small pieces of cardboard cups can do the job.Silicone moulding
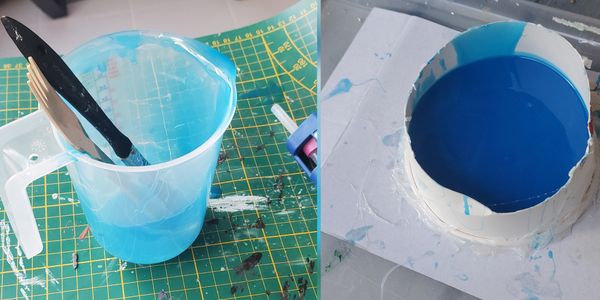
- It is important to respect the proportions indicated on the product. Generally the dosage is on a ratio 1:1 - After pouring the correct base and hardening doses it is important to mix the preparation well. Both compasses must be perfectly homogeneous. - Before pouring silicone into the formwork it is important to pass a first layer of silicone with a brush in order to protect against the appearance of bubbles. - After passing a first layer of silicone with a brush, pour the rest of the preparation. Silicone must cover ALL the object. Place your mould on a flat surface. Tap your mold for a few minutes to raise the bubbles - Allow to dry for the specified time and in the recommended temperature.Preparation of mould
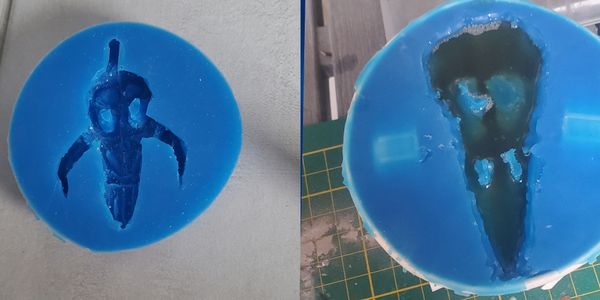
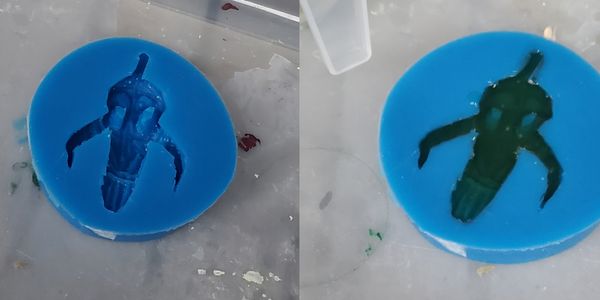
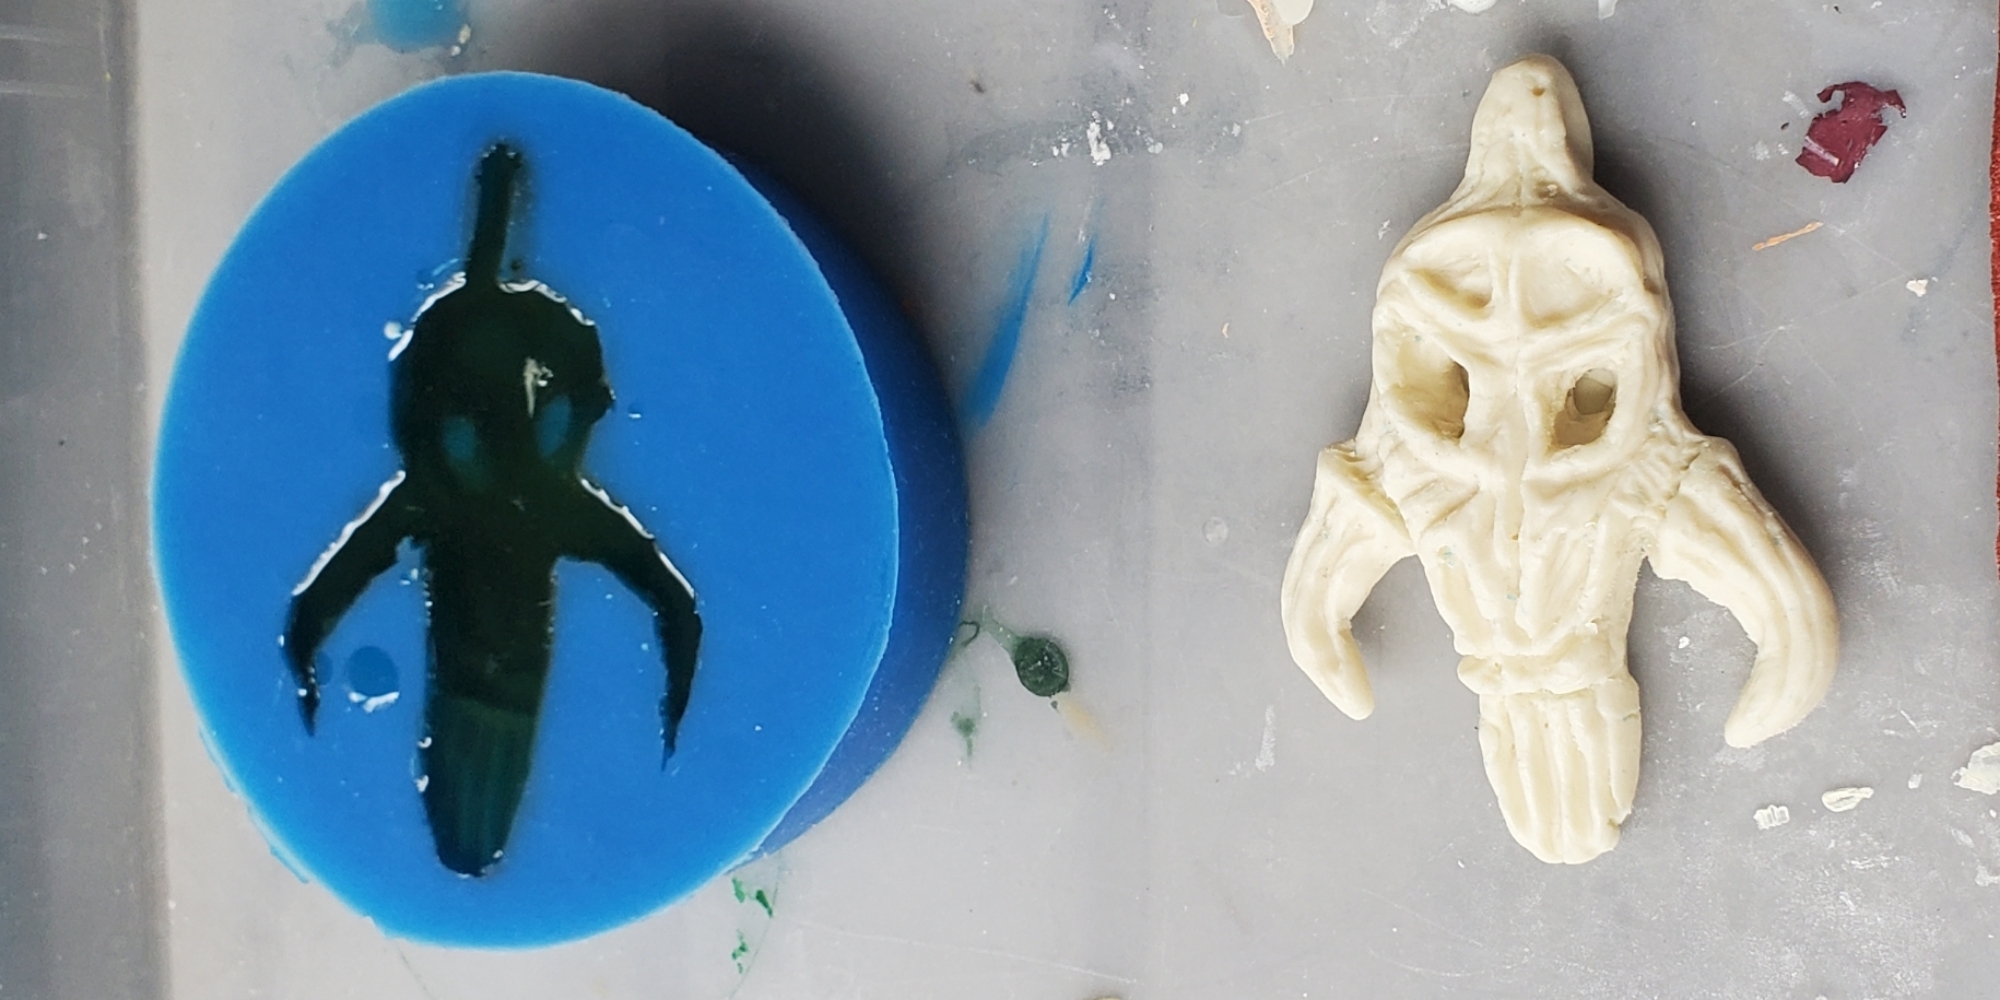
- Get the mould out of the formwork. It is possible that the silicone was passed under the object. Gently cut the excess silicone until you arrive at the beginning of the object. - Remove the plasticine object and gently clean the mould with water and brush. - Dry the mouldResin drawing
- The mould must be dry and clean and flat. - In a measuring glass mix the required basic and hardening quantities. Both components must be mixed in a homogeneous manner. - Pour the mixture into the mould and tap the mould to raise the bubbles.Processing of Draw
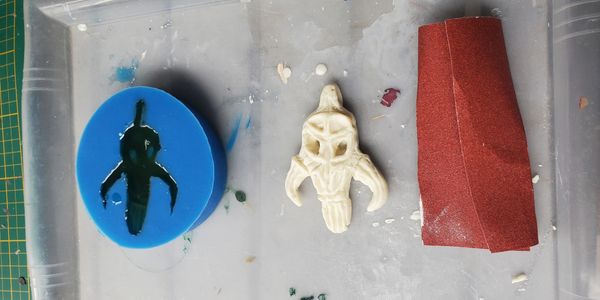
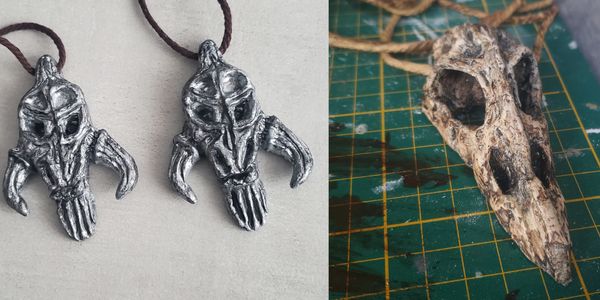
- Silicone is a soft material unlike resin, be careful not to break the draw during the release. Be careful not to tear the mould either. - Before reusing the mould it may be necessary to clean it. - The drawing can have silicone residue, a light brush brushing can clean effectively. - To sand the resin it is necessary to PROTECT the RESPIRATORY lanes with a suitable mask as well as to work either outdoors or in a well ventilated room. - Acrylic paint holds well on resin but the application of a primer can be recommended. .Epilogue
- The first draw can be used to make a second mould to speed up the creation stages. - It is possible to make images of other objects (3D printing, foam clay..) but being a mould of only one part there will always be a flat and smooth part. - For transparent props it is possible to use Epoxy resin This resin can be dyed with pigments, it is also possible to incorporate LEDs.