The Fimo Pasta
The fimo paste is not very well known in the cosplay, yet it could be an ideal combination for the manufacture of accessories
What you need
- *Oven1
- *Sulphurized paper (or baking)1
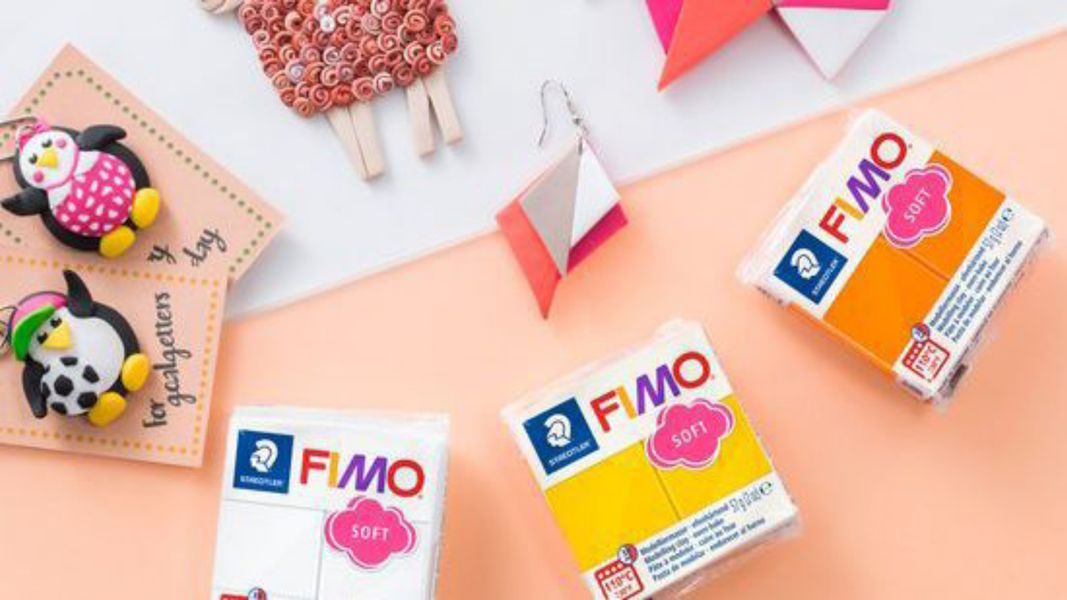
- *Fimo Pasta1
- *Cosplay element reference1
Steps
Its properties
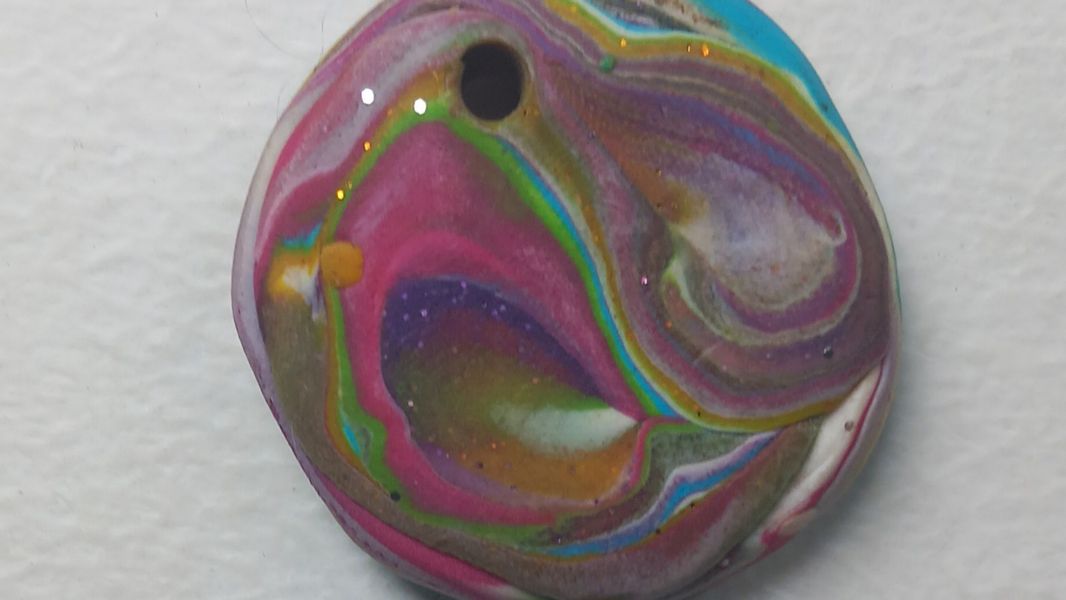
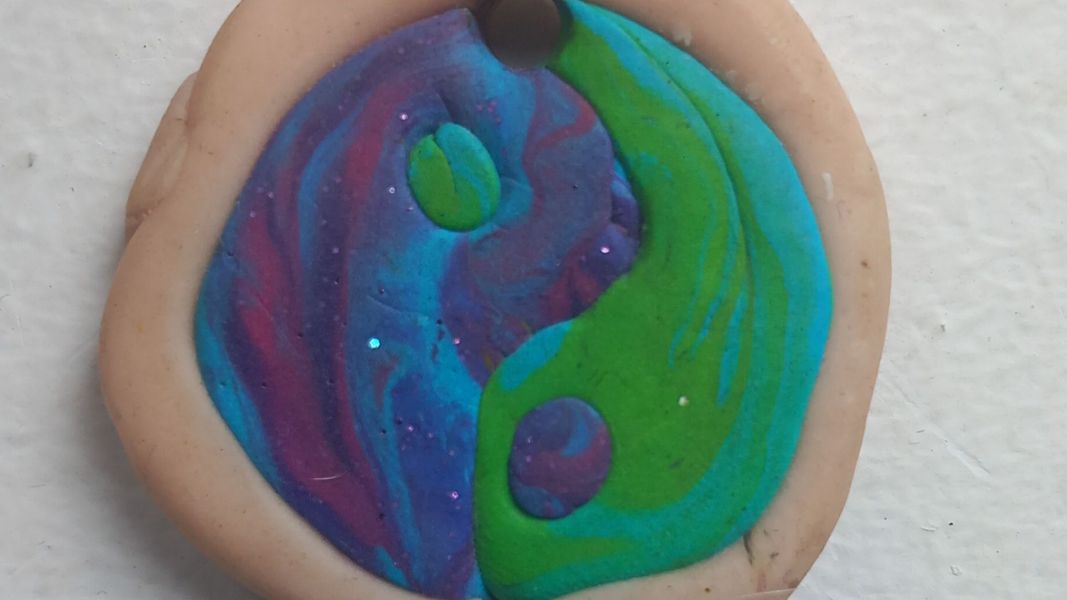
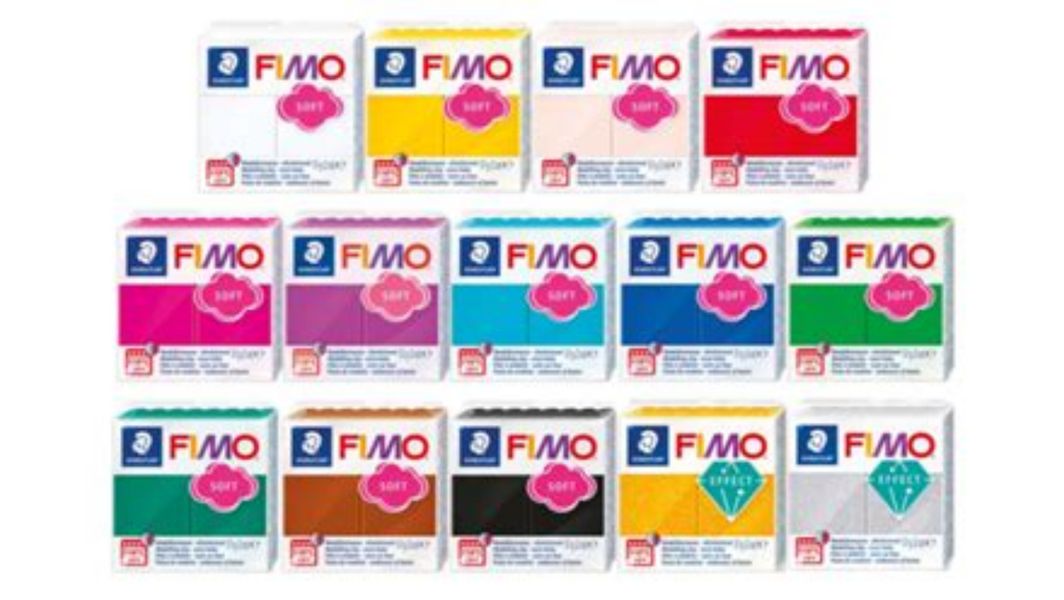
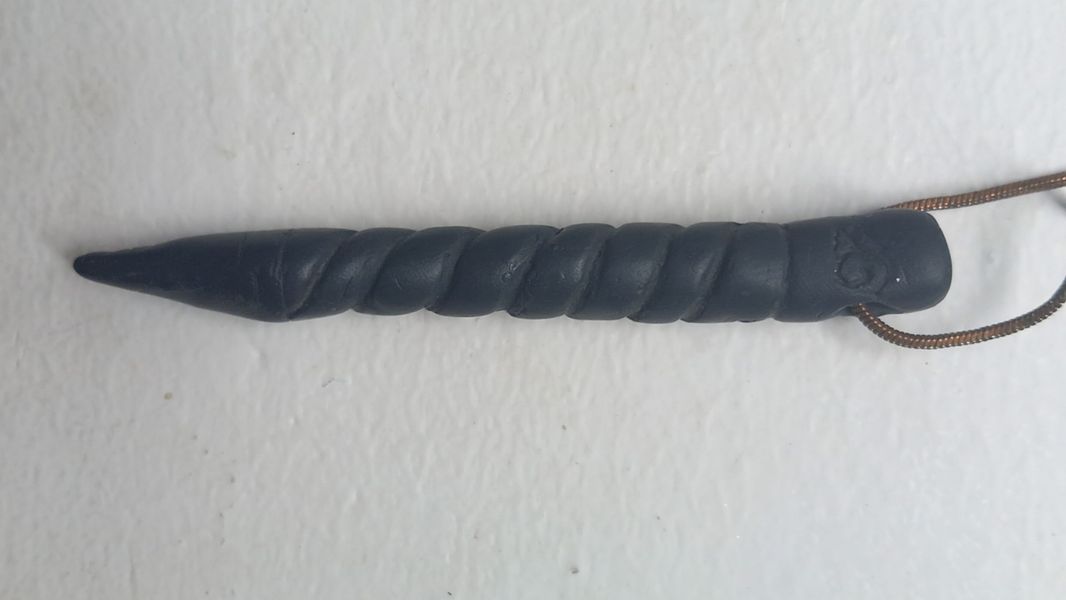
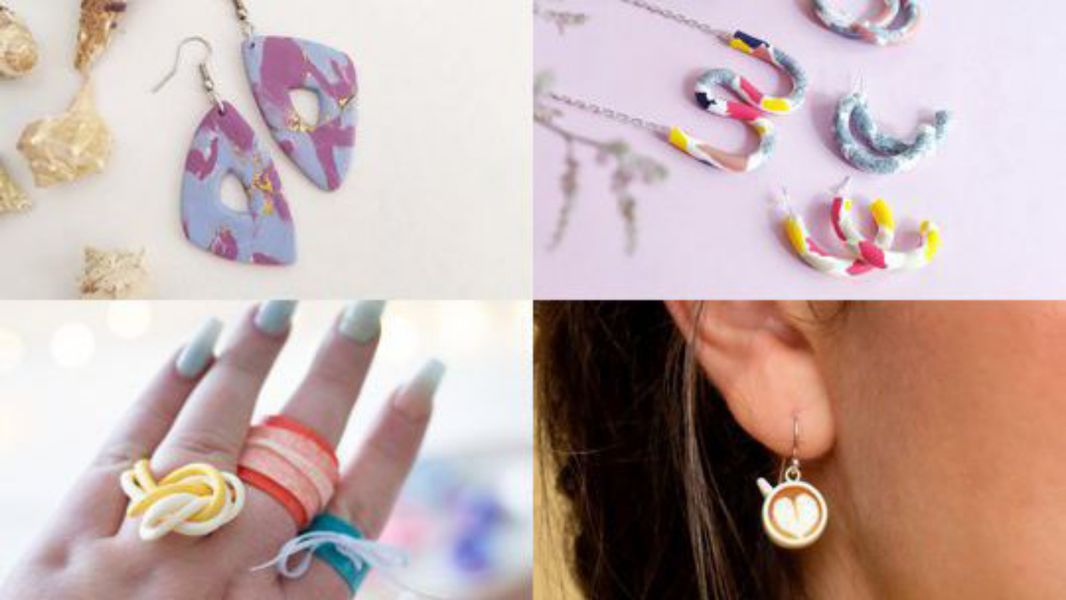
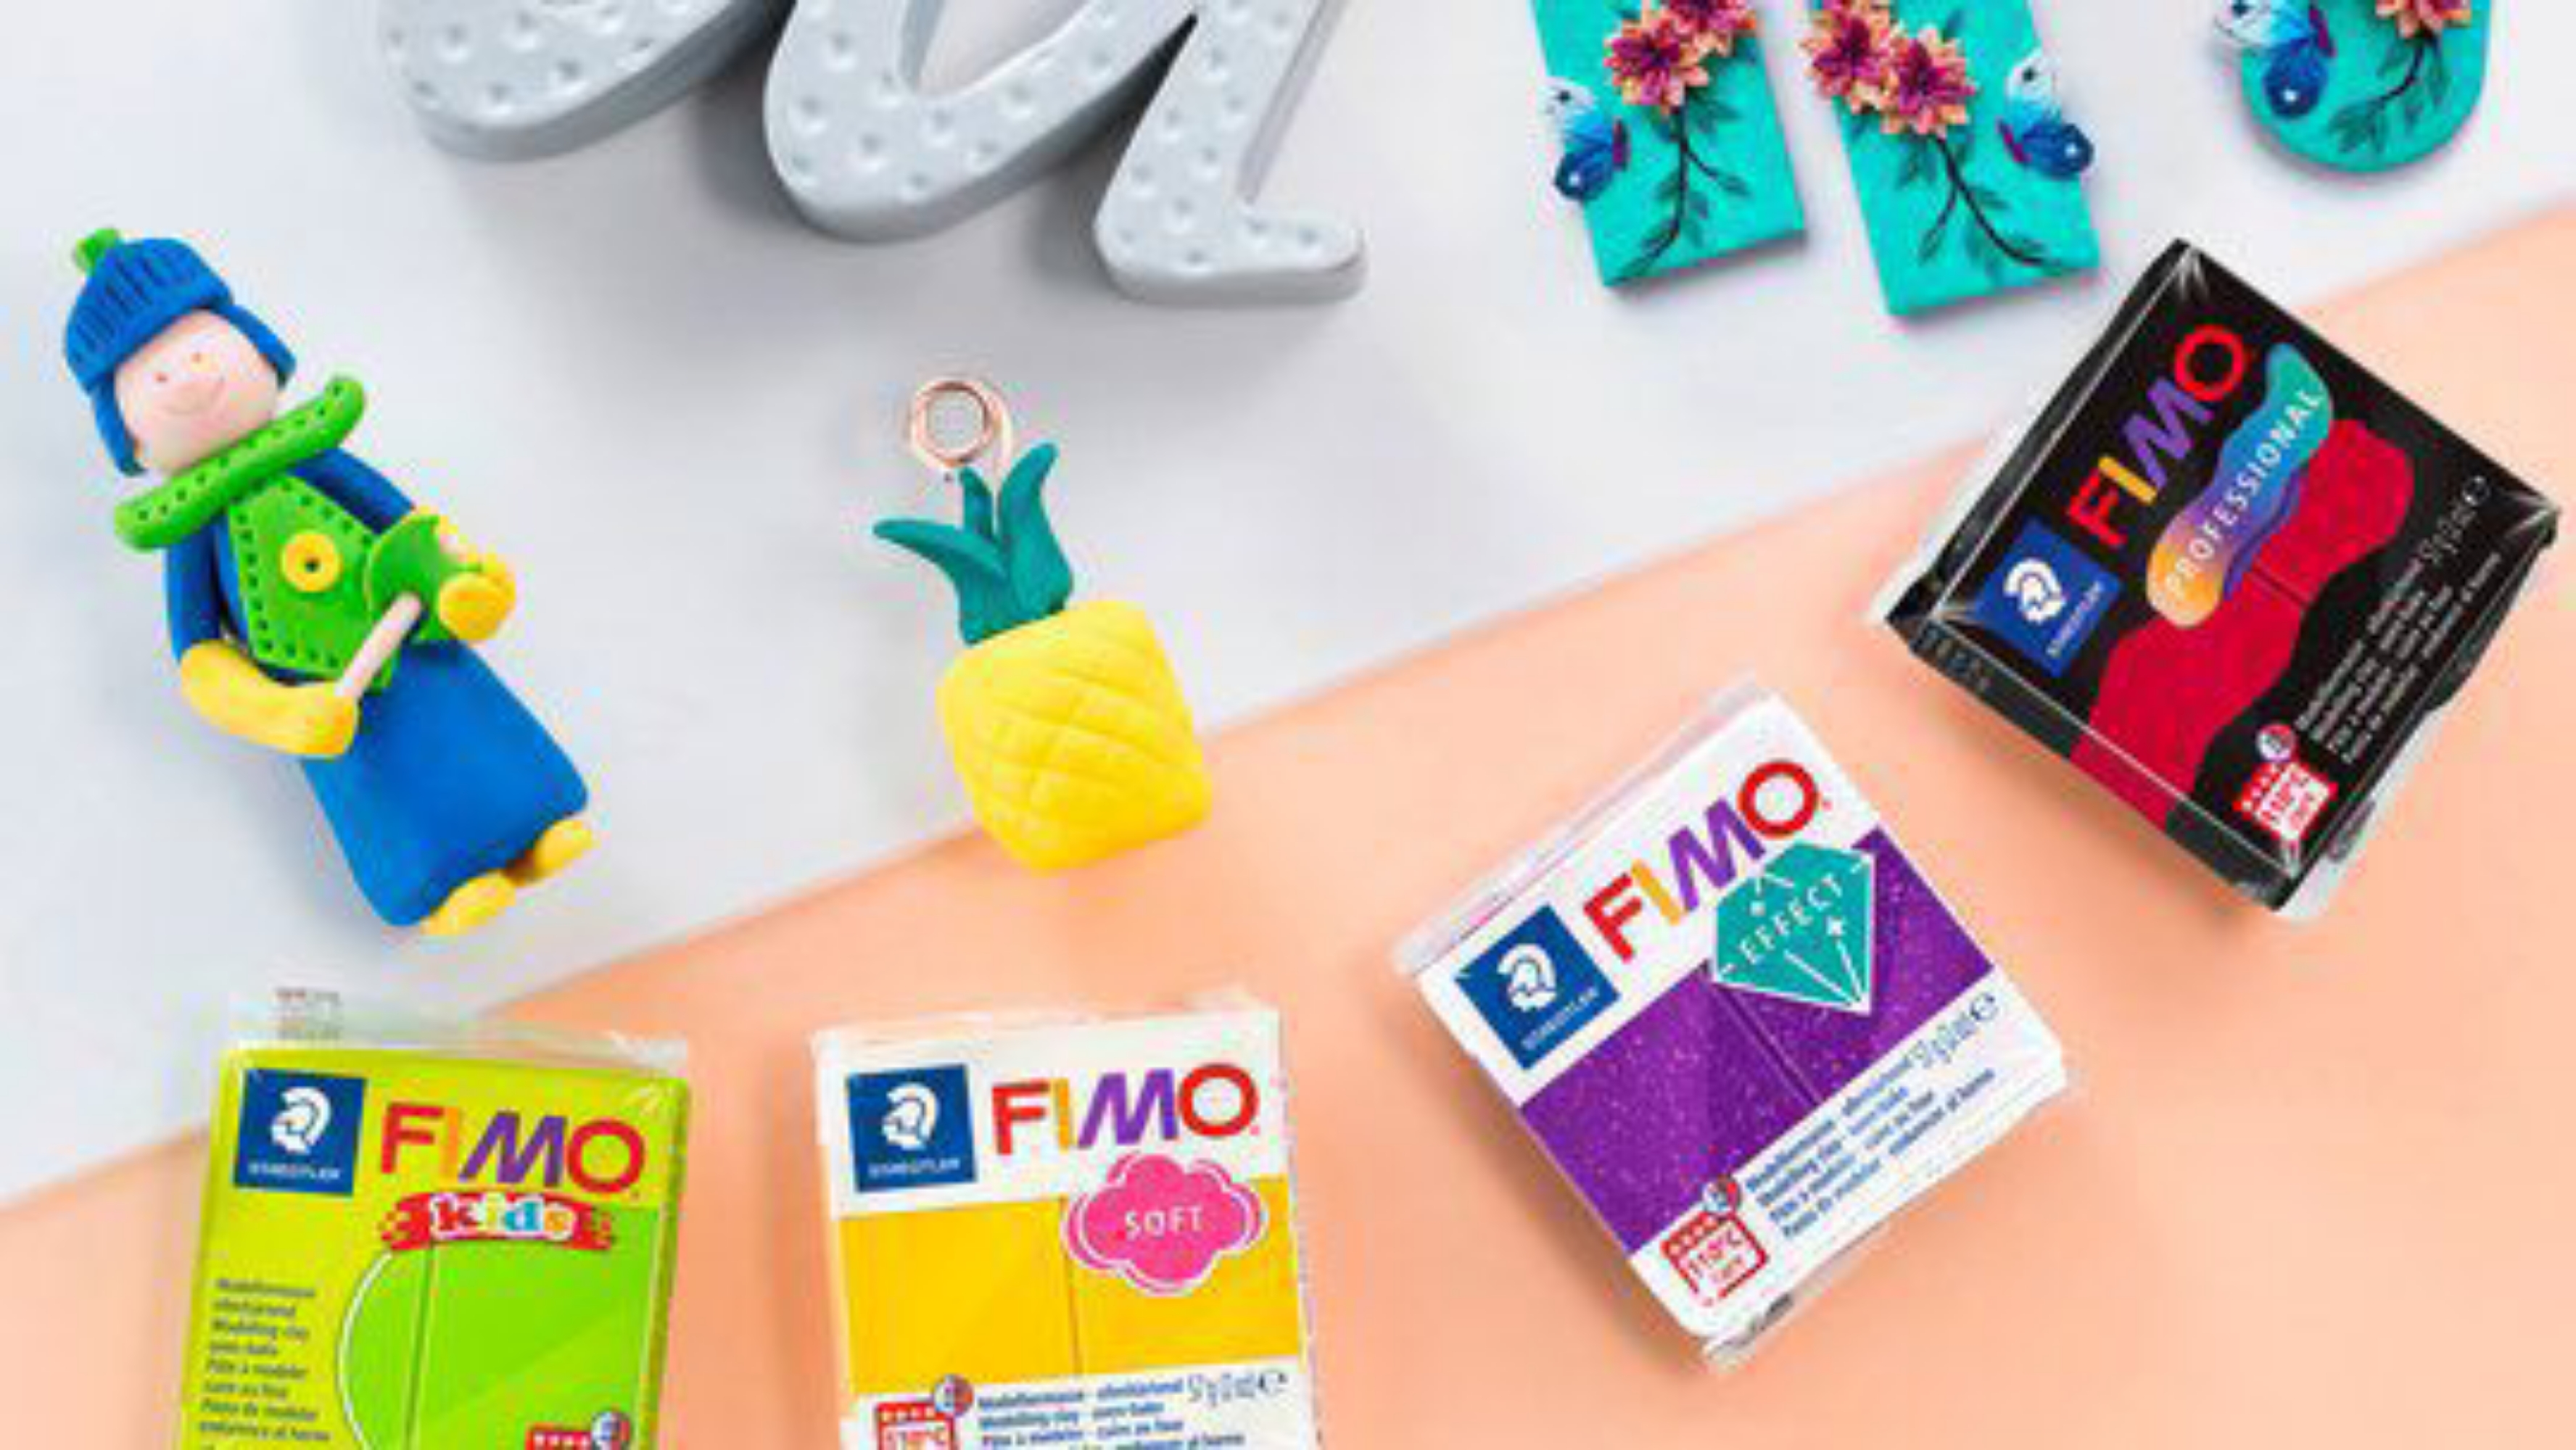
It is an harmless paste for the skin that does not need a glove to be útilized because it is designed for both children and experts. If you make a mistake, you can start over again. It can take the shape you want quite easily and did not deformed during cooking. It is solidified in the oven (see 3.use). You can create things like this (see Photo 2 and 3) by not mixing too much. Noted that all the fimos can be mixed (except for self-driving). But I advise you not to try to create your own colors yourself, it is very long and tiring in addition there already exists a lot of coloring . And if you can't find the desired colors, you can paint the acrylic paste and varnish (preferably used a special fimo varnish but it works with other varnishes too). There are also pasta with effects (example ; glitter)Where to buy?
You will find them in Cultura and Bureauvalet, you can also order them online . I advise you not to buy them in a pack because you will not necessarily find the color you want. Note: Maybe the Fimo dough is a little expensive.How to use it?
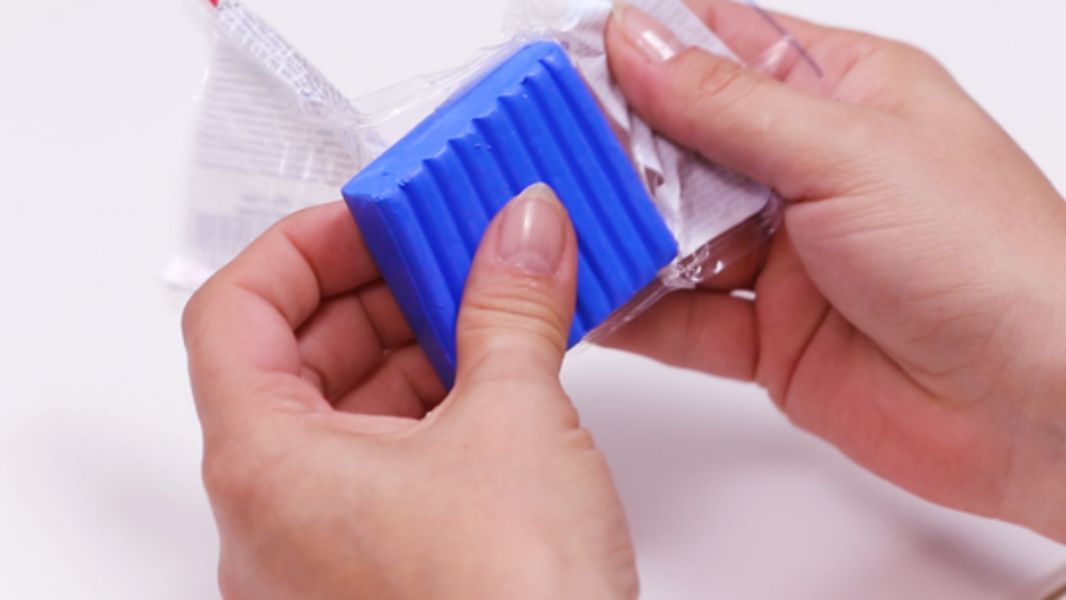
First of all, discover a piece of dough you want (no need for a presice mess because the dough does not harden if it has not been baked). You can use a knife because it may be complicated from cold discovery. Then mix the dough with your (clean) hands to make it more malliable. As soon as this is the case, give the dough the desired shape. Use a flat and clean workspace. Finally, put on a baking sheet with sulfurized paper (or baking paper) and then place the elements made on it by ensuring that it is not glued. Finally, heat the oven between 110 and 130°C (not to exceed, otherwise the dough could burn) for 30 minutes.Tools and some techniques
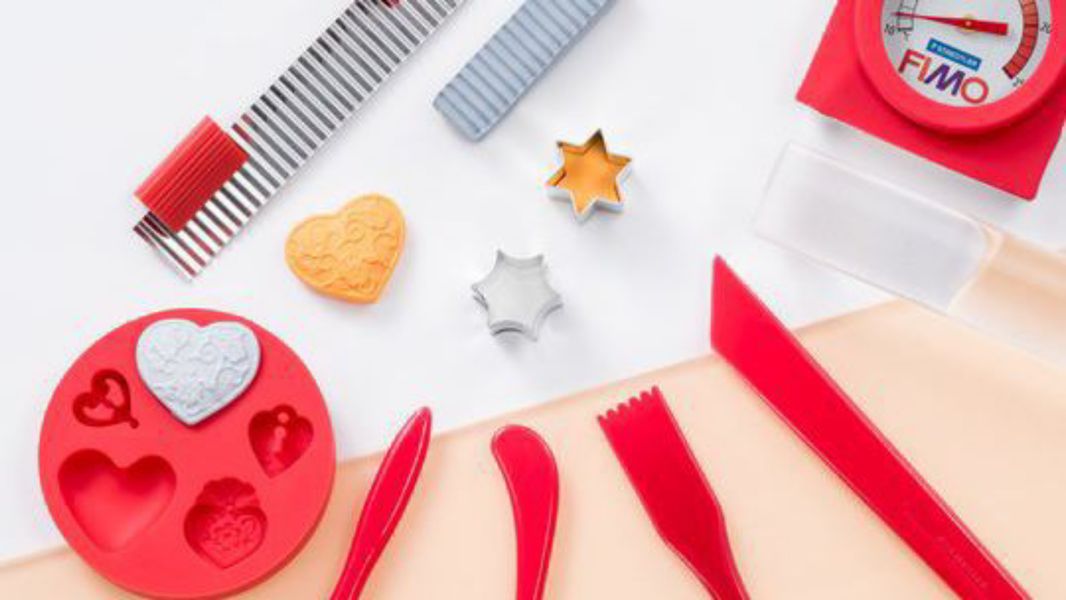
You can use tools to make your accessories (Fimo tools or not). One element that almost everyone has, is toothpick, with I have already realized a pendant (Boruto's quill, see Photo 2). You can use stencils after flattening the dough and then cutting, or using cups. It will depend on what you want to do. Note: To avoid the mark of your prints on your creations you can use a tool to smooth the surface. If you have long shadows be careful not to leave marks in the dough.Conservation
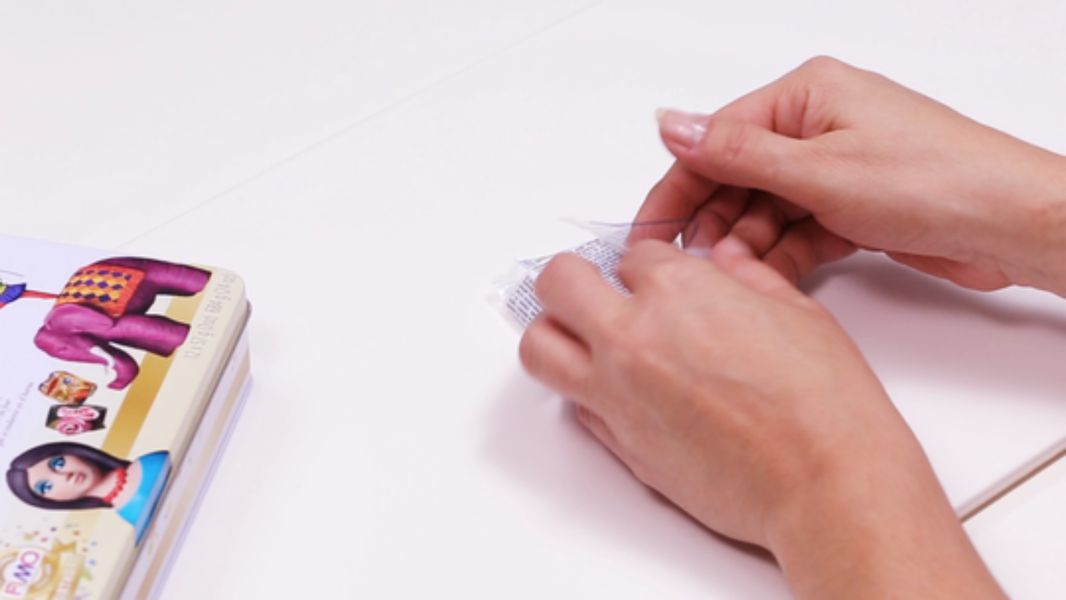
For starters, wash your hands before (and after) each use, otherwise see may soil some dough. I am thinking in particular of white dough. And also because the dough is not harmful but it remains chemical. Then concervert the dough in its packaging (try to close it), if you can't put it in bags or plastic film. Don't forget your rest, if they are mixing them aside or throwing them away.To go further
On the manufacturer's website you have comprehensive tutorials and tips. Don't hesitate to go and watch: https://www.staedtler.com/en/decouverte/quest-que-la-pate-fimo-tout-sur-la-celebre-pate-a-modeler-coloree-de-staedtler/